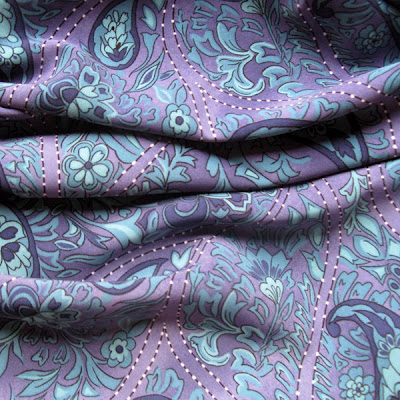
 I’ve had my eye out for fabric for my upcoming art show table for awhile now. Nothing uglier than your standard 2′ x 6′ white plastic hotel table…yeah, that baby must be covered. Yesterday on a thrift shop pop-in, I rooted through the fabric/bedding section to find 4 yards of the above for the bargain price of $2 (total). I questioned its busy-ness, but decided that the shade of purple perfectly matched my color scheme. This certainly isn’t bed-in-a-bag matchy that I’m going for with this and this and now THIS, but it’s all working and “matching” in my colorful, patterned world. I also loved that the funky paisley had a nice sense of movement, and was a non-wrinkly-silky kind of fabric that would look pretty good pulled out of a box if an iron couldn’t be located, and ~LOVE~ that it was $2.
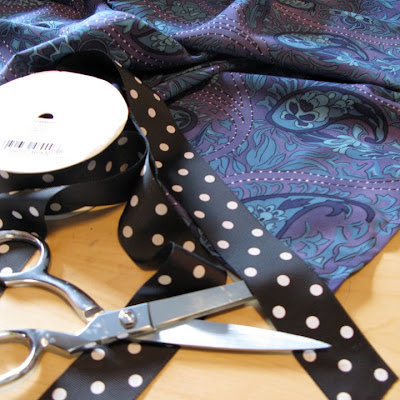 After trimming the fabric to size, I decided it needed the other kind of trim. I rationalized that 8 yards of perfect trim probably wouldn’t turn up at a thrift store anytime soon…so I purchased the above ribbon from a craft store for a big $4. Bringing my table investment to $6. With all the other show necessities adding up, I’m being cautious. My goal is to at least break even.
 I hemmed the edges of the fabric first and then went back and added the trim. Not sure if there’s a “right” way. If so, my making a trimmed table cloth by the book would have been purely accidental.
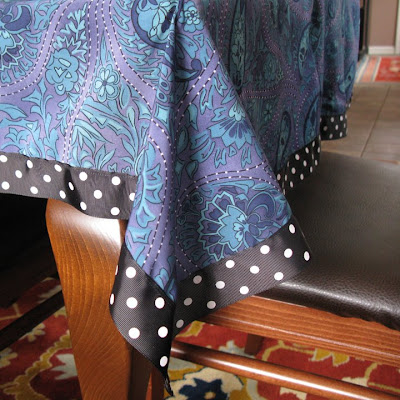 Here’s my purple, paisley, polka-dotted table cover all finished taking a test run on our dining table. I’ll also have a white cloth under it at the show which will extend to the floor so I can hide stuff like bins and bags and maybe myself depending on how things go… : 0
Another big check off the prep list….I’ve got the table covered.
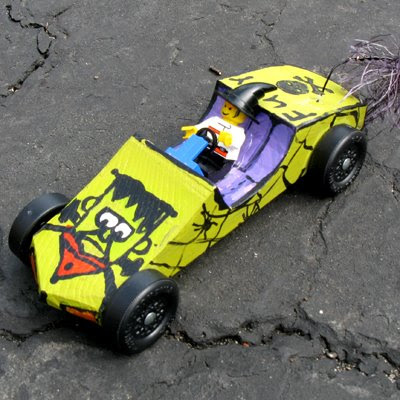
 Last weekend I experienced my first ever Boy Scout Pinewood Derby. For those of you not familiar, a few weeks ahead of race day the scout is given a kit with a plain chunk of wood, wheels and axles to create a derby car. The idea to sculpt and design whatever your aerodynamic imagination dreams up (within a certain weight/size limit of course). Dad helped our scout with the sculpting and construction of the car. Brendan then marched up to my studio and together we planned out design.
 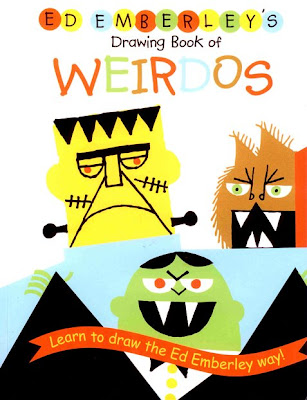 Ed Emberley a.k.a. the master of children’s how-to-draw books provided major inspiration for “Frankensteins Fury” or “Fury” for short. Brendan painted his car monster green and rendered Frankenstein the Ed Emberley way.
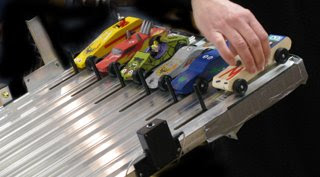
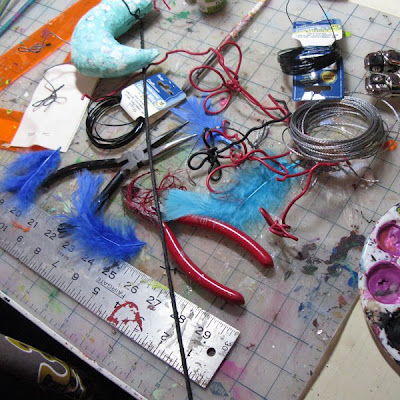
After that, I introduced Brendan to my ever-growing rubber stamp collection. Going with the theme, we picked a cool skull and a spider to add more spookiness. Next, I showed him how easy it is to paint a spider web. The little wire+fiber antenna thingamabob was my idea..not really sure of the purpose, but it seemed to me that the Frankensteinmobile should have something weblike blowing in the breeze. Brendan searched for a lego steering wheel and put together a creepy little Lego driver from the lego surplus we have going on around here. After we attached those with hot glue, we were ready to burn rubber. Race day was a complete S*H*O*C*K to me. Unfortunately my husband couldn’t attend, so with three kids, Frankenstein and numero uno cup of coffee we headed off for the race track. I left the pot on as I was expecting we’d be home from the festivities in a half hour…45 minutes at the most…really…how long could this last? I slowly began to get the gist that I may have underestimated things just a little when we walked in and saw the metal track running the length of the cafeteria. PLUS the electronic finishing system, the computerized standings board on a big screen and an eager Dad announcing that lunch would be served at 11:45 over the loud speaker. Definitely not in Kansas anymore Dorothy. Welcome to the Indianapolis Speedway. Even without my beloved second cup of coffee, I’ll admit that it was a thoroughly entertaining and exciting morning. As far as the standings, my little guy managed to finish sixth for speed overall (after 6 rounds of racing) and captured an honorable mention medal for best design. Not too bad for a rookie. Next year we’ll really be ready. And I’ll be bringing my second cup along.


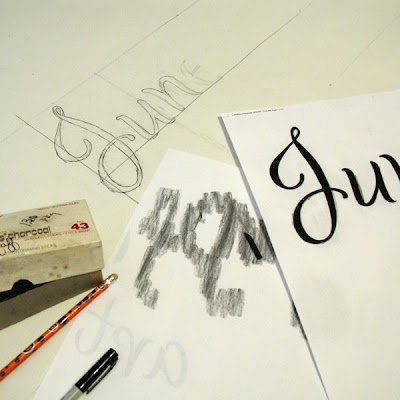
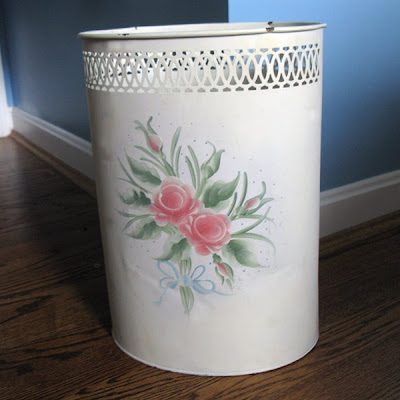
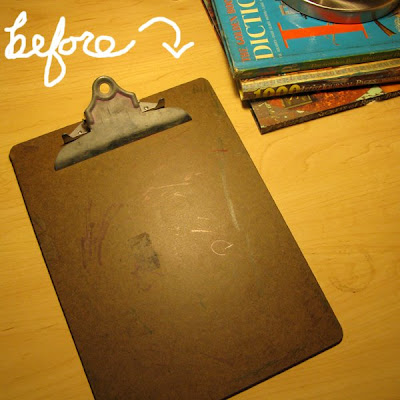 I bet you’ve been wondering if I’ve been thinking about the clipboard that I would transform to match my booth that would hold my mailing list sign-up sheet? No? Well actually, it happens to be bullet point #15 on my “100 Things to Prep for Art Show” list. The scary thing is I’m not kidding. After digging into my closet of waiting-to-be-fabulous thrift store/yard sale treasures, I picked out this particular clipboard purchased for a quarter some time ago. Beat up and abused, but with the coolest metal clip in perfect working condition. I primed the board and threw a palette of paint at it (quite literally really) to make over into this…
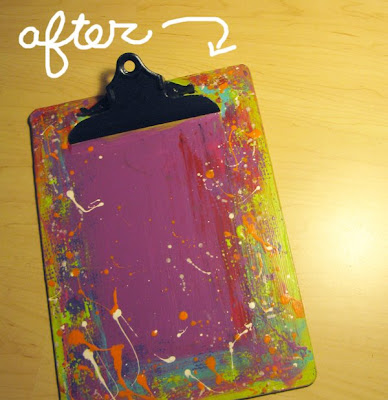
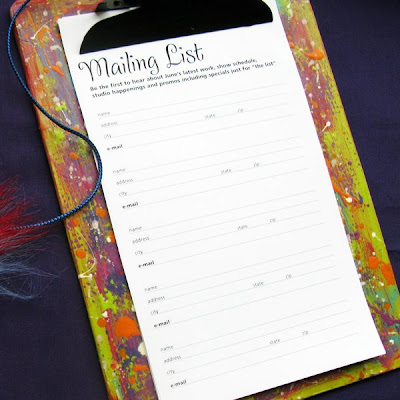 This sign up opportunity will be out for those interested in hearing about my latest work, show schedule, studio happenings and promos including specials just for “the list.” And BTW if you can’t be at this show, notice the new little sign up button over there at the right (i’m pointing to screen.) Just enter your e-mail and presto you’ll too be on “the list.” And don’t think you’ll be bombarded with e-mail. It’s a no-share, no-more-than-once-a-month update. Did I mention the specials?
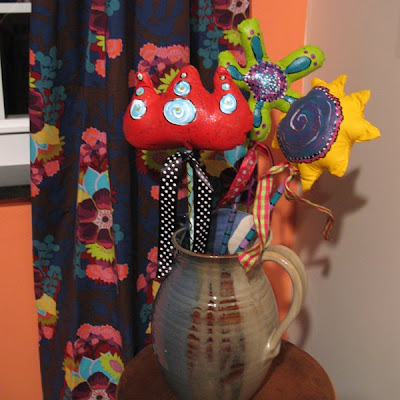
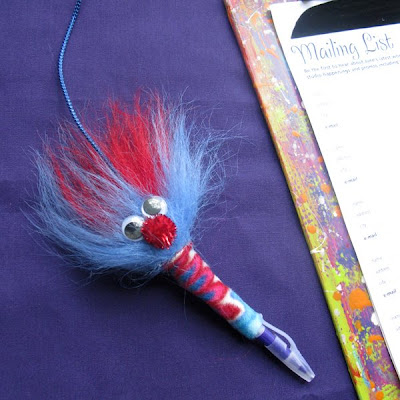 …here’s the sign-up pen. Who says the pencils should have all the fun?


 Have you ever wondered about the


