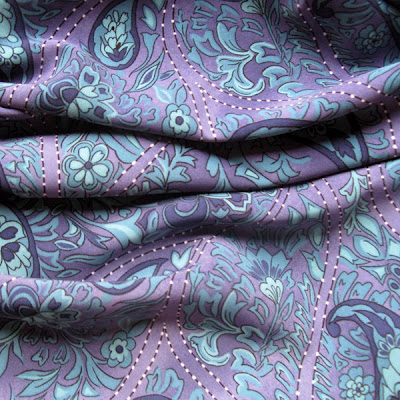
 I’ve had my eye out for fabric for my upcoming art show table for awhile now. Nothing uglier than your standard 2′ x 6′ white plastic hotel table…yeah, that baby must be covered. Yesterday on a thrift shop pop-in, I rooted through the fabric/bedding section to find 4 yards of the above for the bargain price of $2 (total). I questioned its busy-ness, but decided that the shade of purple perfectly matched my color scheme. This certainly isn’t bed-in-a-bag matchy that I’m going for with this and this and now THIS, but it’s all working and “matching” in my colorful, patterned world. I also loved that the funky paisley had a nice sense of movement, and was a non-wrinkly-silky kind of fabric that would look pretty good pulled out of a box if an iron couldn’t be located, and ~LOVE~ that it was $2.
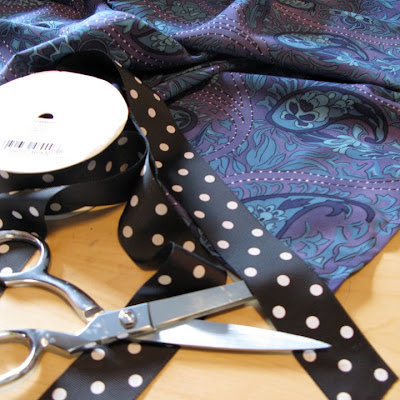 After trimming the fabric to size, I decided it needed the other kind of trim. I rationalized that 8 yards of perfect trim probably wouldn’t turn up at a thrift store anytime soon…so I purchased the above ribbon from a craft store for a big $4. Bringing my table investment to $6. With all the other show necessities adding up, I’m being cautious. My goal is to at least break even.
 I hemmed the edges of the fabric first and then went back and added the trim. Not sure if there’s a “right” way. If so, my making a trimmed table cloth by the book would have been purely accidental.
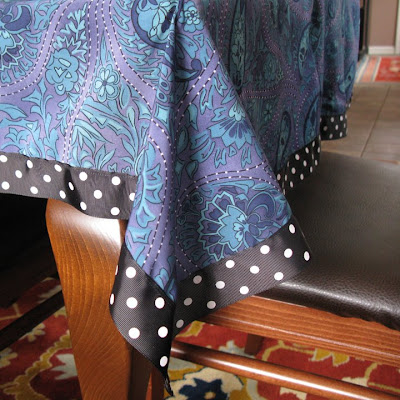 Here’s my purple, paisley, polka-dotted table cover all finished taking a test run on our dining table. I’ll also have a white cloth under it at the show which will extend to the floor so I can hide stuff like bins and bags and maybe myself depending on how things go… : 0
Another big check off the prep list….I’ve got the table covered.
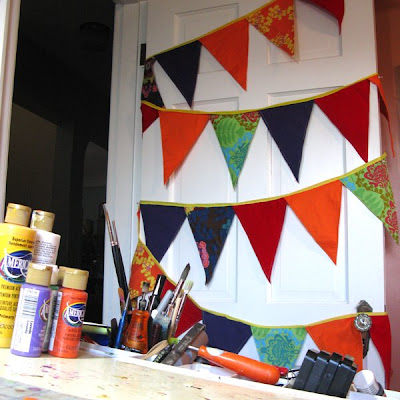
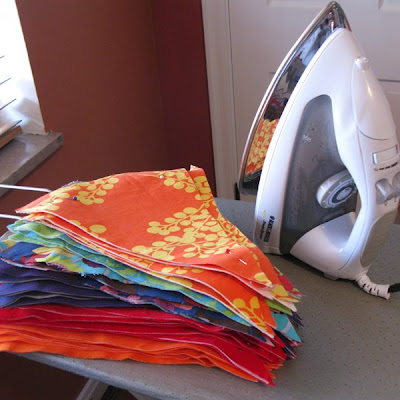 I decided it was about time I signed on to be a vendor at an art fair. It’s one of those things that I knew I wanted to try on for size sooner or later to see if we were a fit for each other. So when opportunity knocked, I answered and signed on for what I felt was a good fit for novice me (good fit for my first show = one day, inside, laid back yet professional, whimsical vendors with a humorous, friendly organizer.) Now with a little over a month to go, I’m working on my booth design. If you’ve ever peeked over at my etsy wares you know I’m all about bright colors and fun. The goal is for my booth to match, yet not overpower the goods. My vision includes a pennant garland to add to the festive atmosphere I’m working to create. I didn’t use a specific tutorial or anything to make…this wasn’t wheel invention. I just created a triangle shape from cardboard for a pattern, then cut, interfaced and pinned together more triangles than I ever cared to count.
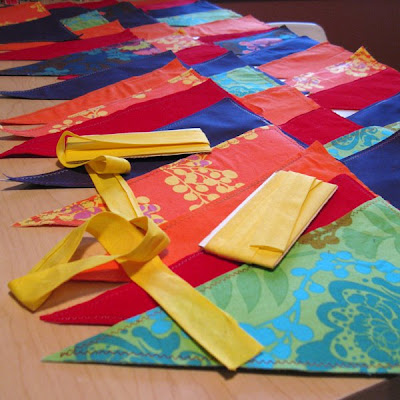 For the triangles, I used three solids (found at yard sales for pennies) and then sprinkled in my more cherished prints. I powered up my sewing machine and had fun sewing triangles with funky multi-colored thread and zigzag stitches. Nothing too serious…this garland was all about having a good time. Next, I laid out a pattern of sewn triangles (yes, there is a pattern, but heck no, it’s not obvious.)
After rummaging through my rick rack box, I found yellow bias tape perfect to string the flags together. (disclaimer: my rick rack box filled with vintage bias tapes, trims, etc. does not exist due to years of sewing. I picked it all up at a yard sale years ago before I sewed anything more than buttons. I knew it was a jackpot for $1, even though I had no idea what to do with the stuff. Self pat on the back…glad I didn’t pass that find by.)
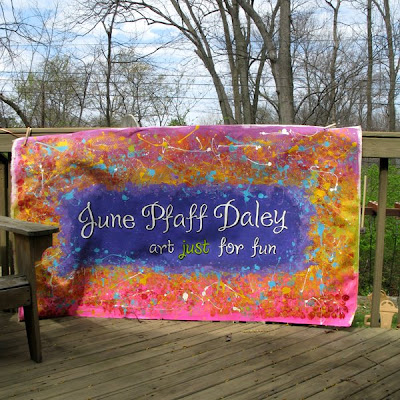
Yards and yards of flag later, I can check ‘garland’ off my booth prep list. Next up is signage. The 3′ x 5′ piece of primed canvas I ordered from Dick Blick came in the mail yesterday. I’m excited to roll that baby out on the floor and go to work. I’ll keep ya updated as the days tick down. It’s exciting to see it all come together. Making up a space design and loving it.
 The bags for the show have arrived!! yep…colorful, fun and best of all~earth friendly. After pouring over options I decided on these. I LOVE a good shop bag (I’ve been known to ~she admits bashfully~ make purchases just to get the bag.) These non-woven fabric reusable bags are made of virgin polypropylene fiber that is 100% degradable. The cost averaged out to about 85 cents each for different colors in assorted sizes. To me that is money well spent not only for the reuseable factor, but to give my customers something special and show that I value my art. In my opinion, mixed messages are sent when vendors stick their gorgeous handmade items in a Wal-Mart bag. It devalues both the item(s) and the handmade movement. A cake with no icing or worse yet, a cake with big ugly mass retailer advertising all over it. Now hopping off my soapbox…
 I also just received my freshly designed business cards. Overnight Prints did the printing and I’m quite pleased with how they turned out. little details: I requested rounded corners for a more handmade/less commercial touch. Also, had the front of the cards coated, but left the back uncoated to pen notes and thank yous.
 As for tags, I’m using these awesome Fiskar squeeze punches to cut circles and squares from decorator paper. You squeeze the handles together and out pops a perfect circle or square (and they have tons of other shaped punches available.) The best part is they are designed so that you can see exactly what you are doing. You can punch shapes at lightening speed…such a great investment. Easy on the hands too.
 Fluffy fibers attach cards to bags and tags to items. Here’s “Love Bird” getting all tagged and ready for her first show. I’m finding out that prepping for an art show is more time consuming than I E*V*E*R dreamed. Admittedly, it’s not helping that I am a sweater of the small stuff and think about details almost to a fault. The already packed lint brush and first aid kit are proof. Now watch me forget the art.
