The latest stencils I designed for StencilGirl had me thinking of boardwalks, foamy waves and saltwater breezes. If you want to transport yourself back to your favorite days on the beach, forget holding a shell to your ear and try stenciling instead.

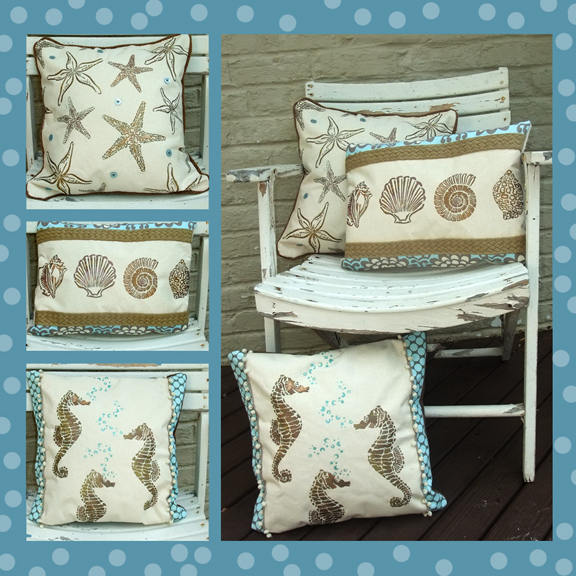
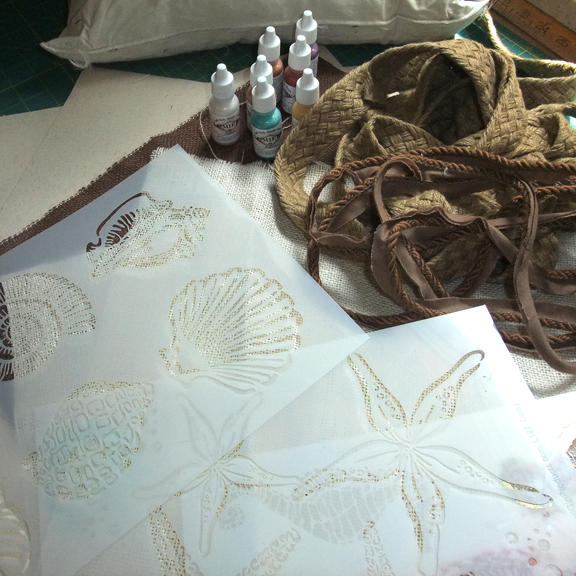
I made the three pillows above using my hot-off-the-press stencils (above) plus other materials I had on hand. Granted I have a pretty decent material stash (hoarder alert), but I promise these pillows are simple and quick to pull together. Here’s a general tutorial of how to create your own comfy beach pillows.
MATERIALS: (but feel free to improvise)
fabric paint (I used Lumiere acrylics for a bit of sparkle) . stencils . stencil brush . canvas on a roll (click if you want the exact stuff I used) . burlap (for pillow back) . material scraps reminiscent of the sea . trim . pillow form . sewing machine . needle . thread
1) Cut the fronts and backs of your pillow from fabric sized to fit your pillow form. I used burlap for the pillow backs and the unprimed side of the canvas for the pillow fronts (I liked the natural canvas side better for this project.)
2) Plain out your design before stenciling on the fabric. Taking the time to do a practice pillow on a similar size piece of scrap paper will be time well spent. You get one shot on that fabric folks!
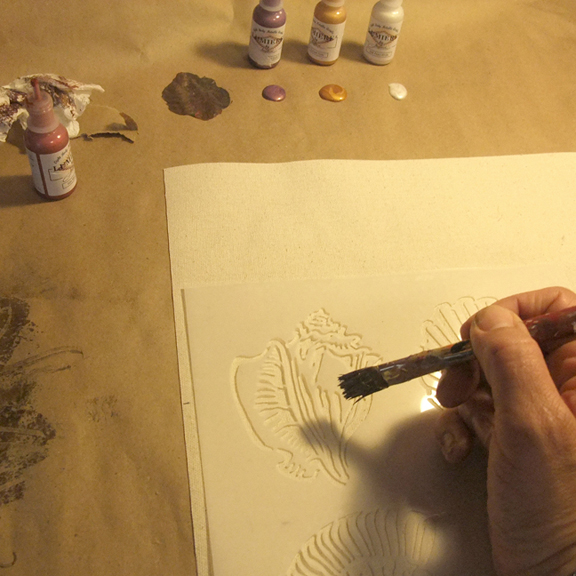
3) When ready to stencil on the fabric: lay ironed canvas flat, position stencil and apply paint. Make sure your brush is not too wet. Again, practicing before will allow for better results on the real deal. Take my word for it.
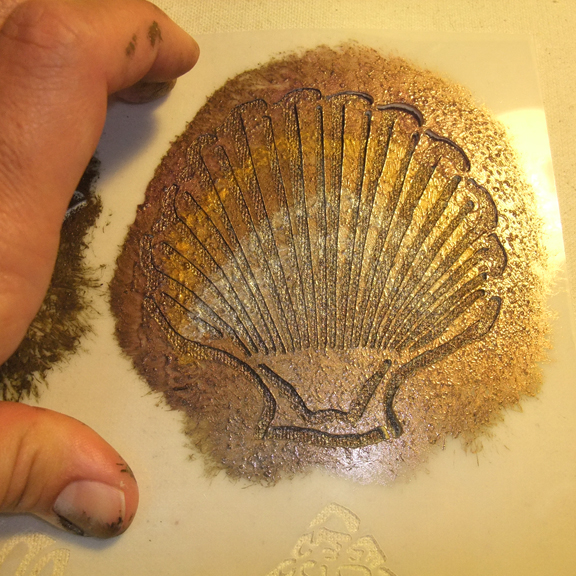
4) I used several warm Lumiere colors to add depth and interest. Subtle, yet awesome. You can kind of see the variation of colors above, but admittedly it’s hard to capture in a photograph.
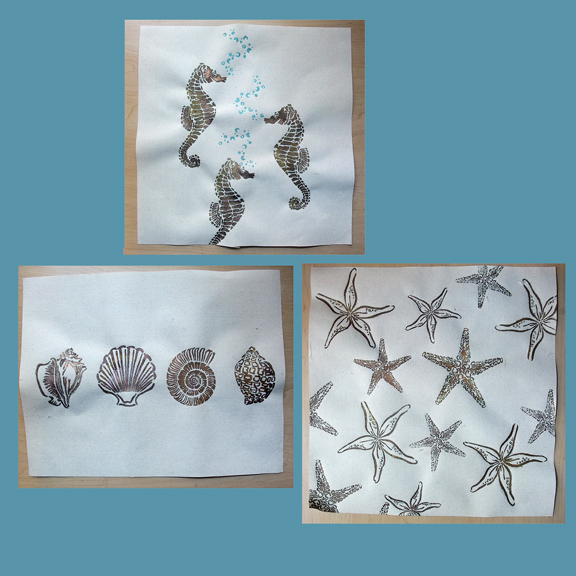
5) Let your pillow fronts dry. Above see how I chose to design my pillows (Wet, please don’t touch.)
6) Add some fun! Buttons, trims, fabrics etc. Stitch embellishments to the pillow fronts before you sew the front and back together. Otherwise you will have a seriously difficult time here.
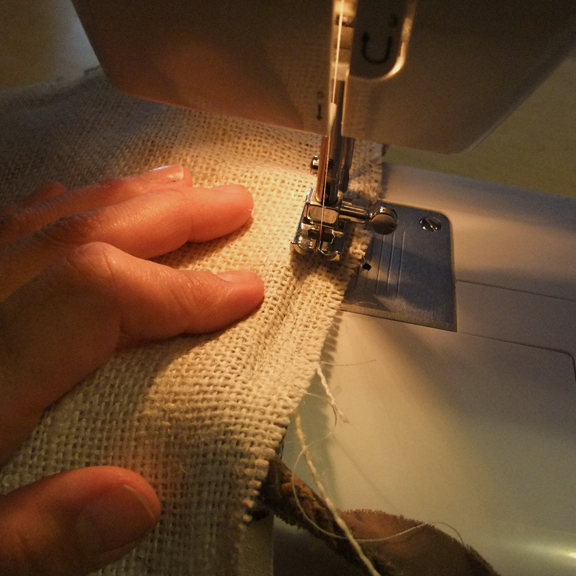
7) Now place the front of the pillow under the front of the back of the pillow (inside out). Add some side trim if you desire and sew together. Remember to leave an opening to insert the pillow form.
8) Insert pillow form and hand stitch the pillow shut the rest of the way.
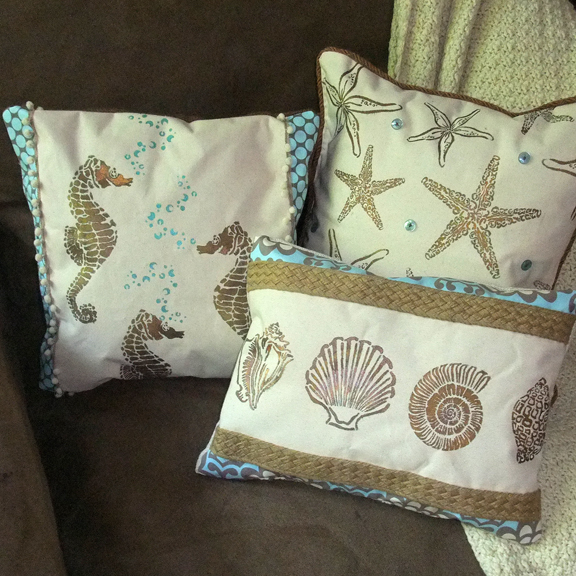
9) Enjoy a bit of the sea even if like me, you don’t have an oceanfront address.
Thanks for stopping by. It was certainly nice to meet you if you’re new over here. The blog hop party continues below with the Original Stencil girl, Mary Beth Shaw! (that must be how it feels to be a presenter at the academy awards. I sure lucked out.