
Making slight modifications, I built off what I had learned from zippie pouches. This time, I created straps and sandwiched them between the outer fabric and the liner. I also squared off the corners of the bag’s bottom so it would be nice and roomy for a beach towel or whatever else.
One goal of mine in making this bag was to buy nothing new (that in addition to making it look like a bag in the first place.) That large piece of stripey fabric was a heavy weight fabric sample that I purchased from an interior designer’s $1/swatch yard sale awhile back (awesome sale…goosebumps just thinking about it.) I used a water resistant type of white fabric for the liner.

Here’s where I really had fun. I started the pocket by making a quilt sandwich…liner, batting and pink felt on top. Then using a variety of fabric scraps, ribbon, a vintage vinyl tape measure and even a clothing tag, I appliqued the pocket with my sewing machine. I created the butterfly pocket much like I would a painting or collage. I used fabric as my paint (cutting pieces of all shapes and sizes) and the sewing machine became my brush (adding line and texture.) I only broke three needles…I’m working on that. A needle is not quite the same as paintbrush. To finish off the pocket art, I applied gold and silver fabric glitter.

 Here’s me with my first ever bag. And the icing on the cake…I was one of three runners up in the Chica’s challenge! My prize, besides adding tote bag to my sewing resume, is a crafty chica bobblehead and a gift certificate to the MakerShed store.
I definitely see more bags in my future. Next time I promise step-by-steps, keeping it real (broken needles and all!)
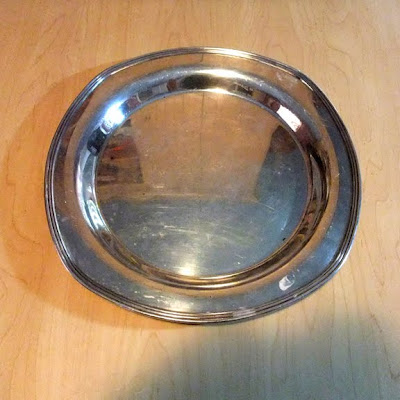
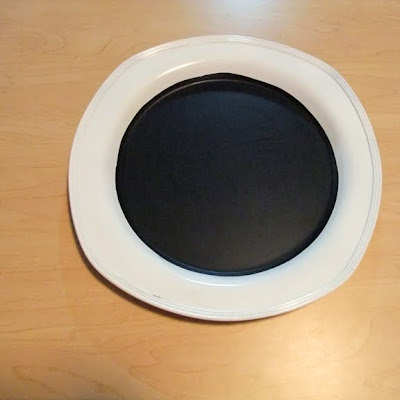
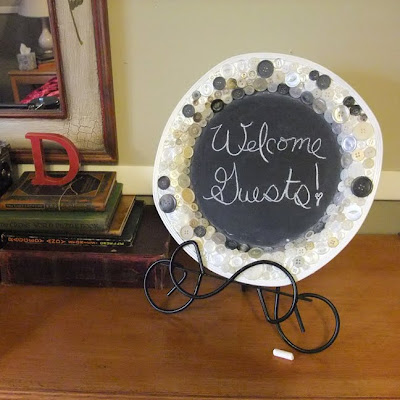 Here’s a summer project that’s been on my list. I’ve had a quart of chalkboard paint in my studio closet for the longest time. My original intention was to add some chalkboard real estate to the basement/kids area. However, my recent read of Jen’s blog about her chalkboard paint tray transformation inspired me to do something similar, but I changed my chalk tray up with a button twist. (disclaimer: please don’t worry as the poor children weren’t left out of the quart…this tray was in addition to giving them chalk space, but that’s another post.)
 Back to the tray, starting at the inner edge of the rim (where the black meets white), I attached various sized buttons. It’s kinda like a jigsaw puzzle fitting the right size button into the space. I kept my button palette mostly in the white family, but inserted a few chalky colored buttons for interest.
tahDah! I positioned my finished plate on a plate stand (a stand that was an ugly bronze, but a quick coat of black spray paint changed all that) and wrote my welcoming message.
 I’ll undoubtedly personalize the message for the various family and friends that visit and stay in our guest room over the year. We love our visitors, so I’m very excited to have this extra welcoming touch.
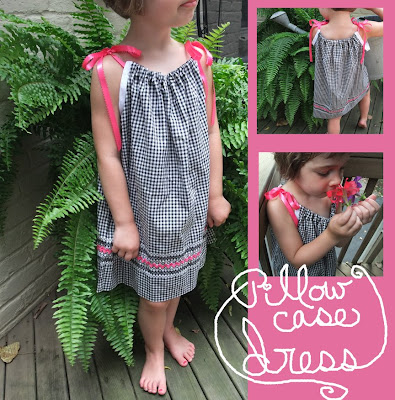 Right before we left for vacation, I finished this project. After acquiring several sweet pillowcases back here in the height of yard sale season this has been a wannabe project on my list. The Internet is a gold mine of pillowcase projects, however I found the instructions for her toddler size dress on page 128 of this awesome book.
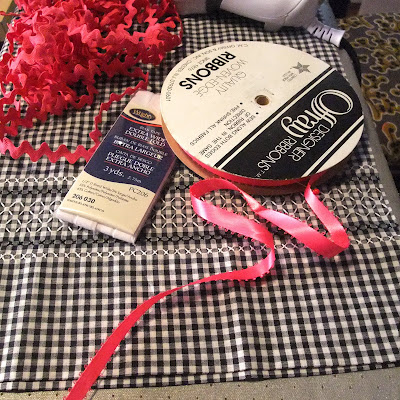 Supplies needed were a pillowcase, a pack of extra wide (1/2″) double-fold bias tape, 2 yards of 5/8″ ribbon, 1 1/4 yards of jumbo rickrack, thread and a sewing machine. I will say that the black checked pillowcase was initially a hard sell to Miss Pretty-in-Pink. However, I convinced little Nora that her favorite color would be the perfect accent for the sophisticated black. She considers herself a fashionista so she looked at me with a huge amount of trust and agreed that black is the new pink (when mixed with pink.)
 After gathering my supplies, I cut off the top (the closed end) of my pillowcase. I then used a J shaped pattern to cut an armhole on each side of the top of the case.
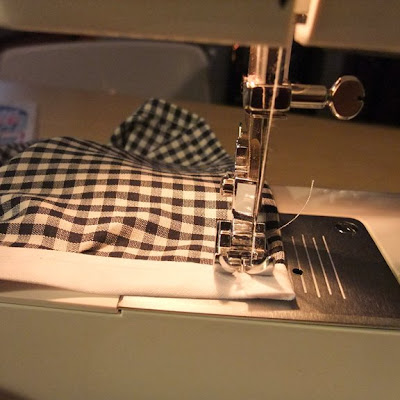 Next, with two 15″ lengths of white bias tape, I binded the armholes (binding=strip sewn over or along an edge for reinforcement or decoration.) Then, I finished the top of the dress by creating a casing on the front and back (casing=a narrow passage for a rod or cord, as in a curtain or the waistband of a garment, made by folding over a small strip of fabric at its edge along its width and sewing it in place.)
note to experienced sewers: please disregard the definitions of these basic sewing terms I know you know. I define only for newbies like me who are still learning the language.
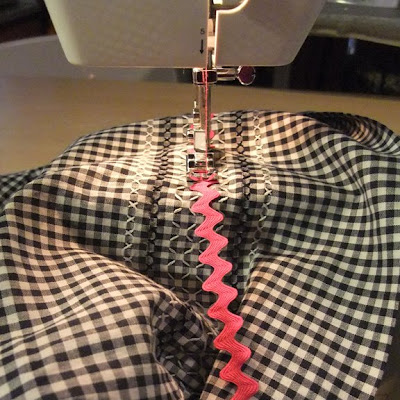 As promised, I added a hefty piece of hot pink rickrack to the bottom of the pillowcase. I straight-stitched right down the center of the rickrack all the way around starting and ending at a side seam. The smocking you see was already part of this pillowcase…an extra bonus.
 I then threaded hot pink ribbon through the top casing in the front and the back of the dress. I pulled to cinch and then sewed the ribbon at each open end so that the ribbon wouldn’t come out (you know…like the annoying hoodie cords I find in my washing machine or catch my children holding…like those will ever go back in their casing.)
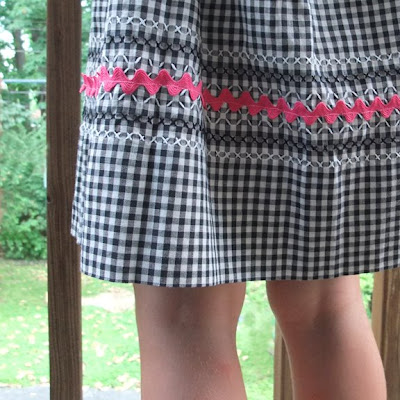 That’s it….finished! This easy project didn’t take more than an hour or so. Admittedly, if someone told me 6 months ago I’d be sewing clothing not only for me, but for my kids, I would have laughed and told them that they were CraZy. I had less fear about making a sculpture out of 250+ Red Bull Cans than pushing a pedal on a sewing machine (which I now know is ridiculous because can art is certainly more difficult and frustrating than sewing, but that’s another story.) The bottom line is if I can sew, anybody can. Case closed.
 Back-to-school week is something I’m never ready for. Going from “what should we do today” to a scheduled day beginning with breakfast at seven and ending later that afternoon with activities and homework to follow is quite a jolt. Taking the time to sew fabric book covers last night was definitely not on the schedule, but maybe that’s why I wanted to do it so badly (rebellious I know.) It might not have happened, if I hadn’t stumbled upon a relatively easy tutorial for fabric book covers over at CRAFT moments before we tackled book covering homework. All of those bare texts needed to be protected from the daily assaults of grade school.
  Bright and interesting patterns will keep my eager students homes away from home nicely decorated. We even used a pink, fuzzy kind of fabric that will make a soft landing spot for a head should the plight of “The Ancient World” become too overwhelming. Just giving them another reason to love their books.


