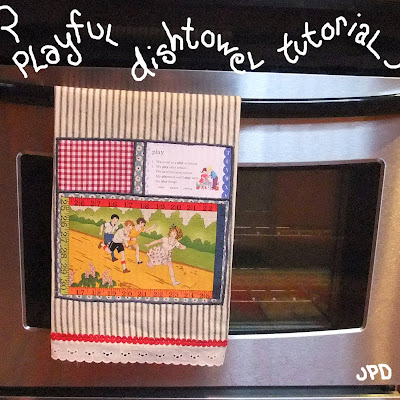
 I’m a huge fan of this store’s artsy dishtowels. I figured it was about time I made a few myself. After all, when you break it down it’s just a fabric rectangle with trim and applique, right? The Totally Tutorials supplies/tutorial exchange with Ruby Jane’s Retro fabric was another spark that led to this project idea. If you were here yesterday, you read about that and my final piece of inspiration…a newly acquired, 1944 children’s dictionary.
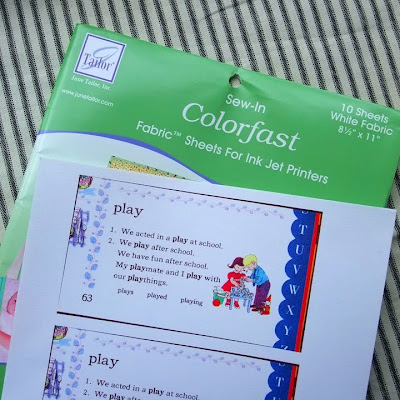 These fabric ink jet sheets have been waiting ever so patiently on my shelf for some time. Finally, they had their day. I loved the entries from my new (old) book and how they “played” off the fabric swatch from Ruby Jane. Here was the perfect opportunity to combine her fabric, a bit of the dictionary and experiment with the fabric sheets.
First, I scanned in the definition of play from that charming dictionary. I followed the fabric sheet directions by loading a single sheet into the printer and printing. I then did the colorfast treatment according to the package. The entire process went smoothly with no ink bleedage or distortion. I really can’t believe I haven’t tried this until now.
 other supplies needed include:
fabric swatches (click here for Ruby Jane’s shop)fusible web21″ x 29″ piece of heavier fabric (main body of dishtowel)trimscissorssewing machinecoordinating thread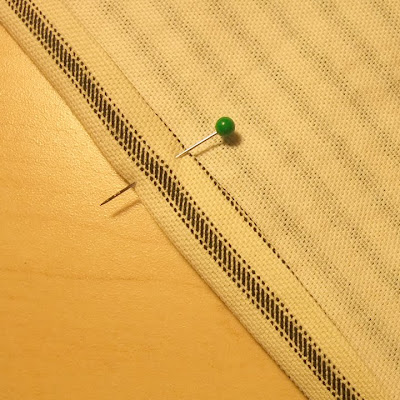 First, iron the edges up and under approx 1/4 inch in on all sides of the dishtowel fabric. Then pin and sew close to the inner edge.
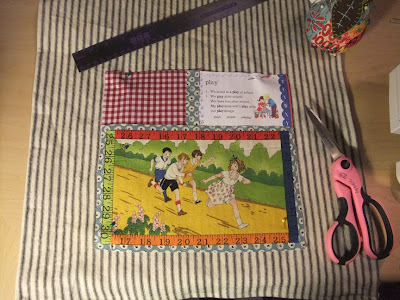 Iron fusible web to the back of all fabric swatches. Peel off paper backing. Arrange and pin fabric pieces on the dishtowel. Iron fabric swatches to the towel.
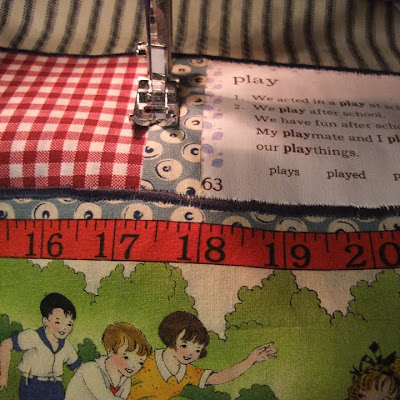 With contrasting thread, zigzag-stitch around the various fabric pieces.
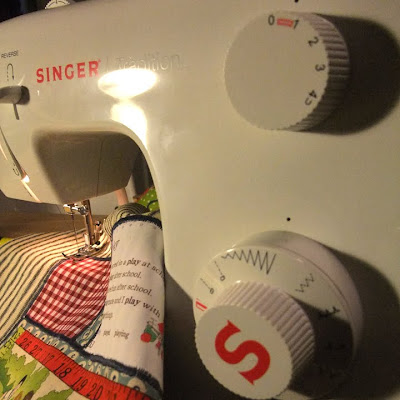 Here’s a peek at what my machine was set at for this part.
 After the applique pieces are stitched, pin ruffle trim to the bottom and top edges of the dish towel. Next, sew the trim to the front edges of the dishtowel.
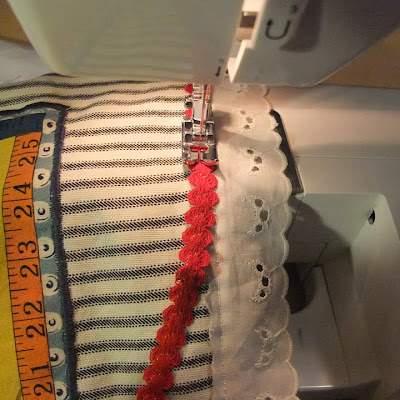 Finally, attach red trim on top…reminiscent of the fancy borders from the original children’s dictionary (note the right edge of the “play” definition fabric snippet.)
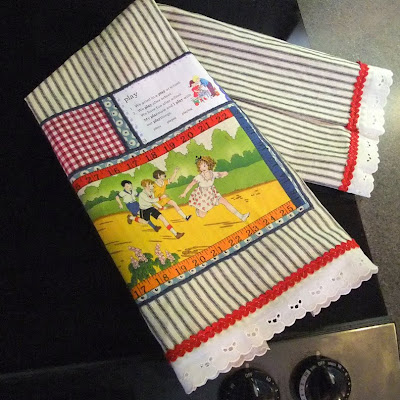 And there you have it…a playful, retro dishtowel whipped up in under two hours to add a bit of whimsy to your kitchen or to gift. I can hardly wait to make more dishtowels integrating initials, recipes, photos…all kinds of personal touches turned to fabric as easy as clicking “print.” And make sure you visit Ruby Jane’s shop for Anthro-like retro fabrics. You know what they say about all work and no play… ; )
 Homemade apple pie is something I crave every fall…errrr actually I crave throughout the year, but even more so when the leaves are changing and the air is crisp. I’ve found the best apple pie is made with a combination of different apples for a variety of tastes in each slice. My favorite mix is Granny Smiths and Jonathans. I also prefer a crumb topping rather than a top crust. Without further chitchat, here’s my favorite recipe for a delicious apple pie.
 apple filling:6 cups thinly sliced, peeled apples1/2 cup sugar3 tbsp. all-purpose flour2 tsp. ground cinnamon1/8 tsp. salt
 The bottom crust can be your favorite single crust pie recipe or a refrigerated Pillsbury crust…promise, I won’t tell ; ). Line the pie plate with the bottom crust and add a fancy cookie cutter edge, if you desire. Then fill with the apple mixture from above.
 To make the crumb topping, stir together:
1 cup packed brown sugar
1/2 cup all-purpose flour
1/2 cup quick-cooking rolled oats
Use a pastry blender to cut in 1/2 cup butter or margarine till the topping mixture resembles coarse crumbs.
 Sprinkle the crumb topping over the apple mixture. To prevent over browning, cover the edge of pie with foil. Bake in a 375 degree oven for 25 minutes. Remove foil and bake for 25-30 minutes more until the pie top is golden.
  Remove from oven and cool. Send hubby to store for forgotten vanilla ice cream and enjoy.
I’ll be back soon. Many projects were wrapped up last week so now I’m enjoying time for things like pie, crafts and our nearly complete renovated bathroom! Hurray for Fall!
Also perfect for the season…a recipe for Gratitude rolls over here.
 I have many things to be thankful for this year including the biggies…family, friends, faith, health and home. Of course that’s not forgetting the little pleasures like making art with zippers and lace : )


