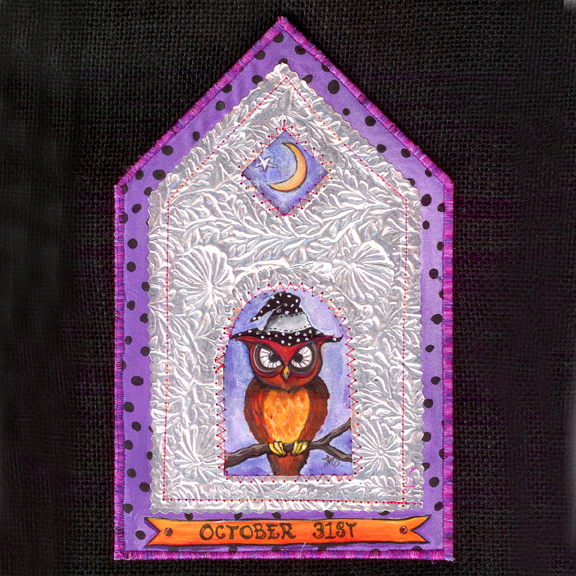
Stopping by quickly to wish a happy October 31st. I’m prepping Frankenstein Rice Krispie treats for school, doing an anti-rain dance and getting things ready for the big evening.
I created the above “Magical Metal Altar” in named class led by instructor Judy Coates Perez at the August 2011 CREATE retreat in Chicago. August was just close enough to October (in my world at least) to inspire several halloweenish art pieces.
Okay I’ve got to fly…have a spooky night!


I was thrilled when this arrived in the mail. Even more exciting than the book’s actual arrival was being included! My article “The Mixed Adventures of a Superhero Series” can be found in Chapter 4: Collage and Assemblage. I’m honored to be among so many talented artists gathered by author Barbara Delaney. This inspirational book is mainly a compilation including some of the best articles and projects from the first six years of Cloth Paper Scissors magazine. The book also includes an intro chapter with tips to start making art and ends with a chapter about getting that art out there. As a graphic designer, I totally appreciated the book’s gorgeous photography and layout (publisher Interweave has quite the talented staff!)
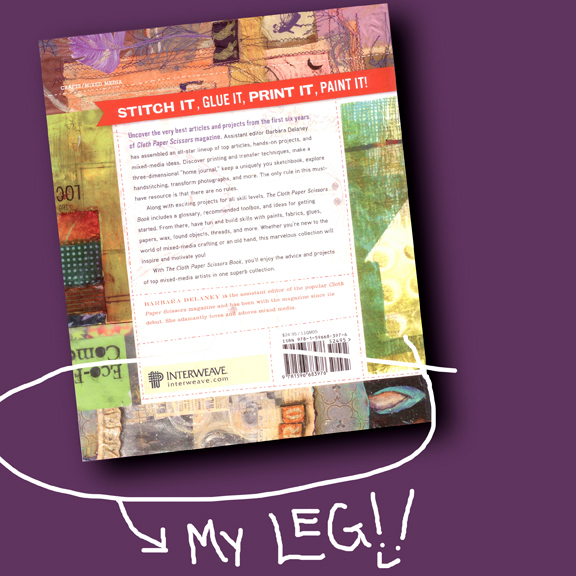
I’ll admit it was pretty fun to discover my leg on the back cover. Well not my leg exactly, but the leg of the apron-wearing heroine I painted. You can order The Cloth Paper Scissors Book right here.

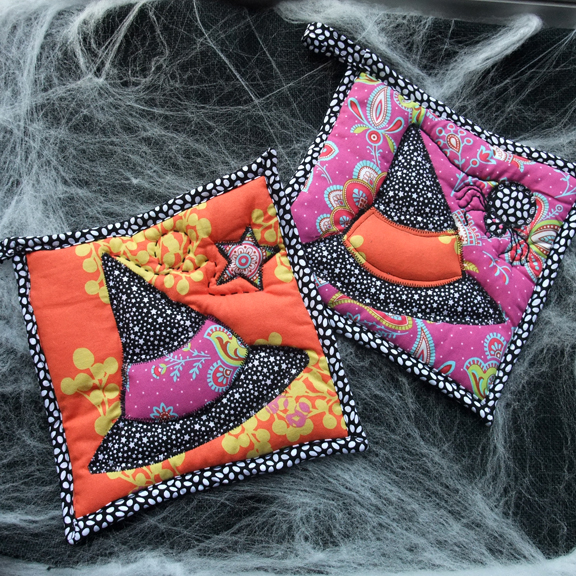
Wondering how you’re going to handle your hot caldron this Halloween? How funny…so was I! Witch, I mean which : ), is what inspired me to design a couple of quilted caldron/pot holders. Follow along for a quick tutorial.
 materials:
4 assorted fabrics (9″ x 9″ top; 9″ x 9″ bottom; hat and star according to
pattern; 40″ x 2″ binding; 6″ x 2″ loop hanger); batting (3-10″ x 10″ squares); fusible web; iron; sewing machine; thread; needle; embroidery floss.
 1.
1. Use my free pattern (
click here) to trace the hat bottom, middle band, hat top and star onto the smooth side of the fusible web, leaving a 1/4″ allowance all around each shape. Cut out the shapes just outside the marked lines. Press the hat shapes and star onto the wrong side of each of the chosen fabrics. Cut out the shapes accurately along the marked lines. Iron the shapes to the quilt top.
 2.
2. Make a quilt sandwich with the bottom/back fabric, three pieces of batting and finally the top/front of the potholder (a.) Pin together with safety pins.
3. Use a variety of machine stitches to quilt your block together (b.-c.) Use hand stitching to quilt the twirly line connecting the star to the hat.
4. Trim the excess batting from sides to make a perfect square.
5. To make the hanger loop, fold a 6″ x 2″ fabric strip in half lengthwise and press. Open out and fold each raw edge toward the center fold. Stitch along the long edges (d.) Set aside.
6. Cut a 40″ x 2″ strip of fabric for the edge binding. My new favorite way to machine attach binding is courtesy of my quilting instructor, Heather. She has a fabulous picture heavy tutorial
here. Attach the loop hanger into the left hand corner of the binding.
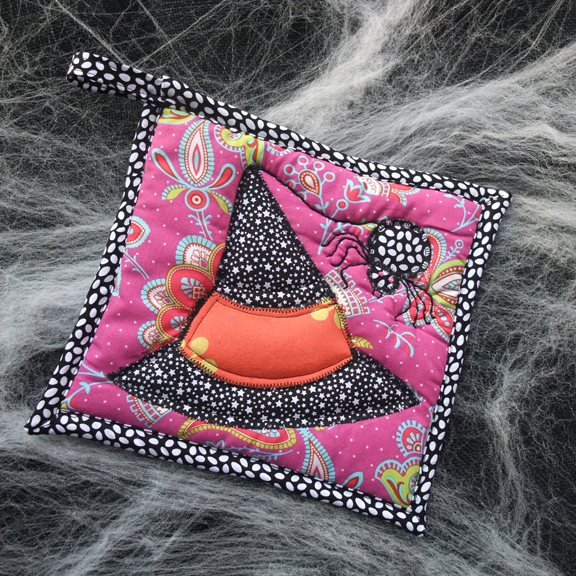
For an alternative design, I attached a spider to the end of the hat rather than a star. The spider consists of two fused circles and hand-stitched legs and eyes.
Enjoy creating a funky piece of functional decor just in time for Halloween!


When I first started this project back here, I didn’t think I’d ever see the day. I knew a quilt would be a big project, but I had no idea just how B*I*G. I certainly learned a lot through the process. For one, I can say that my second quilt project is somewhere in the far, far, far future. Perhaps when the kids are in college or maybe when the grandkids are in college. Until then, I’m quite content using my new quilting skills for smaller projects like pillows and potholders.

Here’s a closeup. I had hopes and dreams of doing some sort of fancy quilting technique…free motion pebbles maybe? However, I quickly realized that sticking to straight lines was a much safer bet. Actually…sending it off to a person to do the actual quilting would have been even safer, but this was about the learning (repeated to self over and over especially when holding seam ripper.)
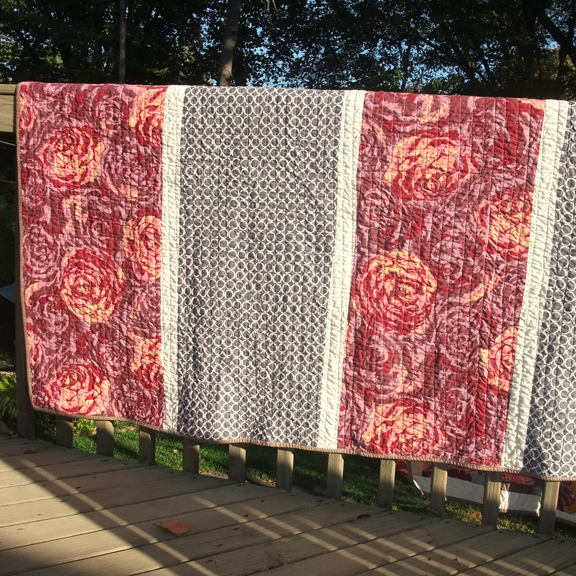
Here’s what’s happening on the quilt back. We can’t talk about how many hours this project involved (my husband might be reading). However, what could be better than a warm, handmade, one-of-a-kind quilt (finished!) on a cool fall day?!
Smaller quilting projects coming soon.


