It happens almost every Sunday. I’m in Church with my three kids and inevitably one whispers about needing a tissue. I scramble to find something adequate in my purse, but it seems I’m often fresh out. This inspiring scenario led to the idea to make cases for tissue packs to whisper back “bless you” the next time they were needed (and I’ll never admit I created this project in my head during the homily, although thinking about angels and blessings is appropriate, right?!)
As the holiday season approaches, I’ll be creating more of these to “bless” family and friends. This quick and easy project make adorable stocking stuffers for loved ones. They also make the perfect holiday gift for those angelic teachers.
PROJECT MATERIALS:
6 1/4″ X 7″ piece of Jacquard Stabilized Fabric
6 1/4″ x 7″ piece of coordinating fabric
Jacquard textile fabric paints
Jacquard Lumiere metallic acrylic paints (I used Metallic Gold; Pearl Turquoise; Pearl Violet; Pearlescent Magenta; Pearl White; and Pewter)
coordinating thread
iron
sewing machine
paint brushes
DIRECTIONS: 1. Cut one 6 1/4″ x 7″ piece of Stabilized Fabric and lightly draw an angel design with pencil. (Click angel pattern above for a printable PDF of my design. Use tracing paper to transfer on fabric.)
2. Paint the angel and background with fabric paint. Use Lumiere metallic colors for the wings, halo and background.
3. Let fabric dry for 24 hours before peeling off backing. Remove paper backing and heat set with iron for three minutes.
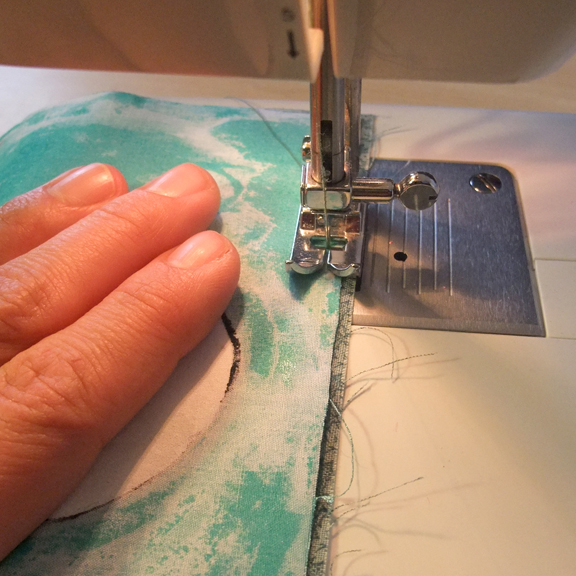
4. Cut a coordinating 6 1/4″ x 7″ piece of fabric. With right sides together of the coordinated fabric and painted fabric, stitch 1/4 inch from the edge all around the outside of the fabric. Leave about a 1 inch opening for turning near the bottom of the angel.
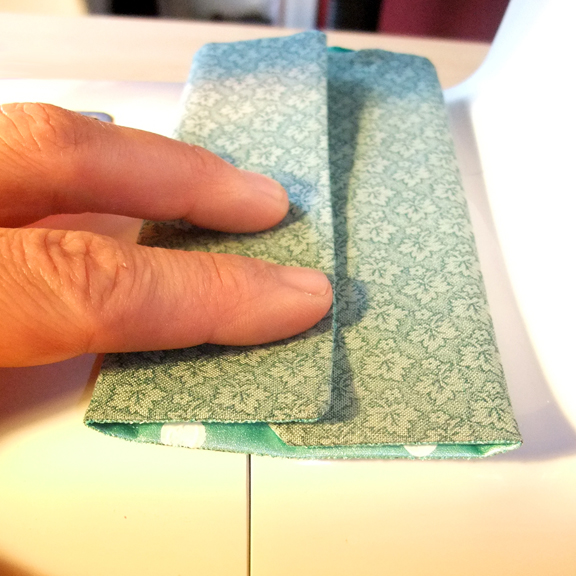
5. Turn and press. Fold the sides of the tissue holder with coordinating fabric facing out. Overlap the edges approximately 1/4″ in the middle.
6. Stitch 1/4 inch from the edge along each short end.
7. Turn right side out and insert a pocket tissue pack.
TIPS: Dip a wooden dowel in white paint and “stamp” on your fabric to make a quick and uniform dot pattern.
Make each angel unique by painting different hair and skin colors.
Work assembly style and you’ll be blessed with a chorus of tissue holders to gift before you know it!
p.s. I’m super excited to now be collaborating with Jacquard Products to develop new project ideas with their fabulous art supplies! In the notice of disclaimers all Jacquard products have been provided. However, a glowing recommendation is all my own.


