 Here’s a summer project that’s been on my list. I’ve had a quart of chalkboard paint in my studio closet for the longest time. My original intention was to add some chalkboard real estate to the basement/kids area. However, my recent read of Jen’s blog about her chalkboard paint tray transformation inspired me to do something similar, but I changed my chalk tray up with a button twist. (disclaimer: please don’t worry as the poor children weren’t left out of the quart…this tray was in addition to giving them chalk space, but that’s another post.)
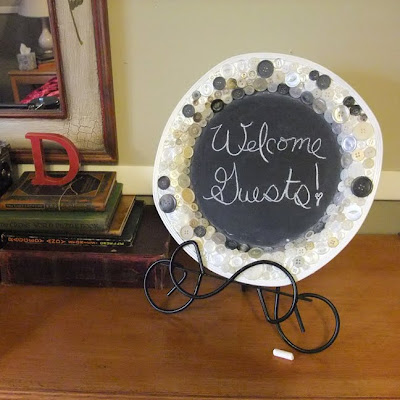
 Back to the tray, starting at the inner edge of the rim (where the black meets white), I attached various sized buttons. It’s kinda like a jigsaw puzzle fitting the right size button into the space. I kept my button palette mostly in the white family, but inserted a few chalky colored buttons for interest.
tahDah! I positioned my finished plate on a plate stand (a stand that was an ugly bronze, but a quick coat of black spray paint changed all that) and wrote my welcoming message.
 I’ll undoubtedly personalize the message for the various family and friends that visit and stay in our guest room over the year. We love our visitors, so I’m very excited to have this extra welcoming touch.
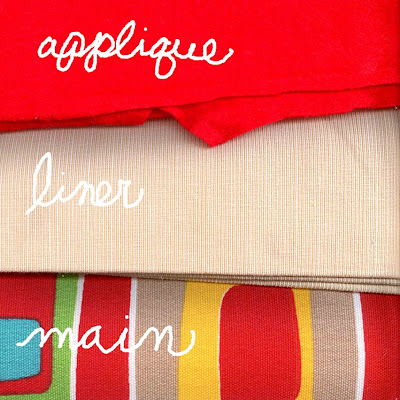
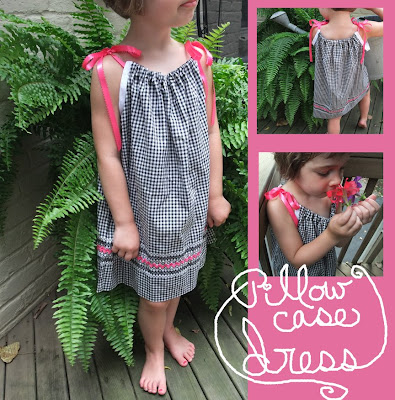 Right before we left for vacation, I finished this project. After acquiring several sweet pillowcases back here in the height of yard sale season this has been a wannabe project on my list. The Internet is a gold mine of pillowcase projects, however I found the instructions for her toddler size dress on page 128 of this awesome book.
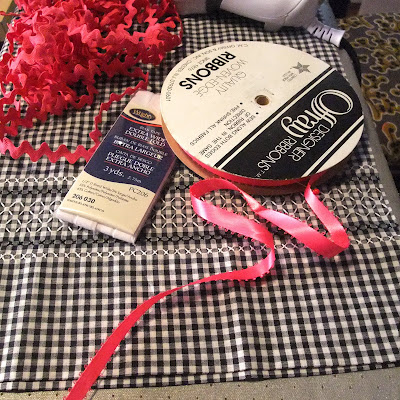 Supplies needed were a pillowcase, a pack of extra wide (1/2″) double-fold bias tape, 2 yards of 5/8″ ribbon, 1 1/4 yards of jumbo rickrack, thread and a sewing machine. I will say that the black checked pillowcase was initially a hard sell to Miss Pretty-in-Pink. However, I convinced little Nora that her favorite color would be the perfect accent for the sophisticated black. She considers herself a fashionista so she looked at me with a huge amount of trust and agreed that black is the new pink (when mixed with pink.)
 After gathering my supplies, I cut off the top (the closed end) of my pillowcase. I then used a J shaped pattern to cut an armhole on each side of the top of the case.
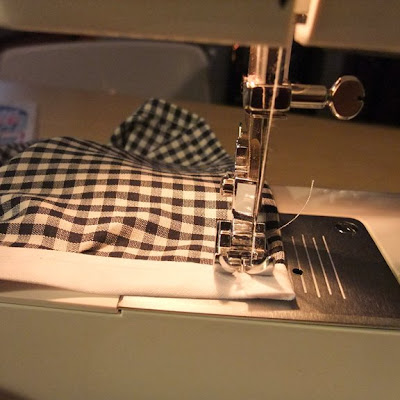 Next, with two 15″ lengths of white bias tape, I binded the armholes (binding=strip sewn over or along an edge for reinforcement or decoration.) Then, I finished the top of the dress by creating a casing on the front and back (casing=a narrow passage for a rod or cord, as in a curtain or the waistband of a garment, made by folding over a small strip of fabric at its edge along its width and sewing it in place.)
note to experienced sewers: please disregard the definitions of these basic sewing terms I know you know. I define only for newbies like me who are still learning the language.
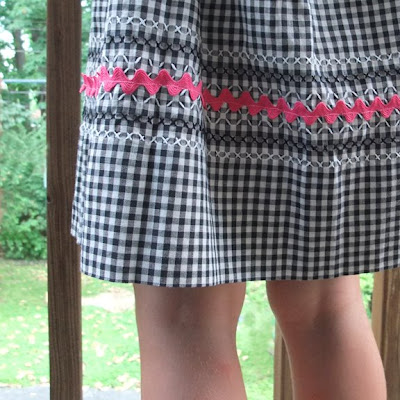
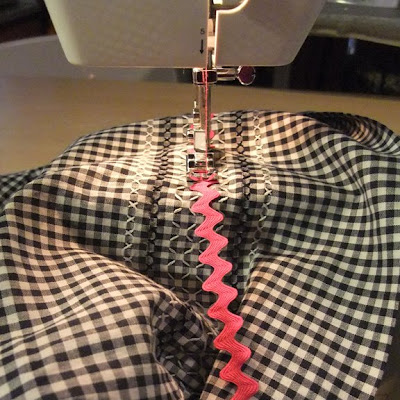 As promised, I added a hefty piece of hot pink rickrack to the bottom of the pillowcase. I straight-stitched right down the center of the rickrack all the way around starting and ending at a side seam. The smocking you see was already part of this pillowcase…an extra bonus.
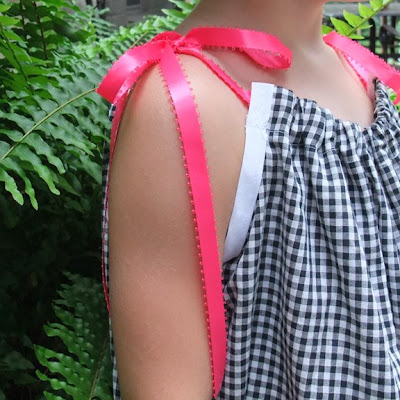 I then threaded hot pink ribbon through the top casing in the front and the back of the dress. I pulled to cinch and then sewed the ribbon at each open end so that the ribbon wouldn’t come out (you know…like the annoying hoodie cords I find in my washing machine or catch my children holding…like those will ever go back in their casing.)
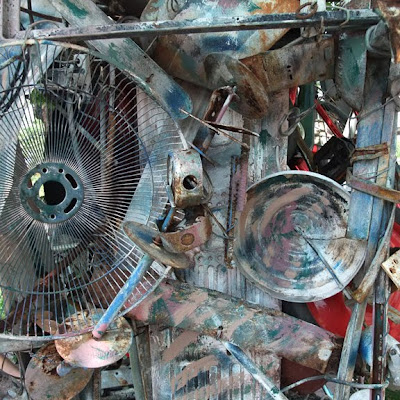
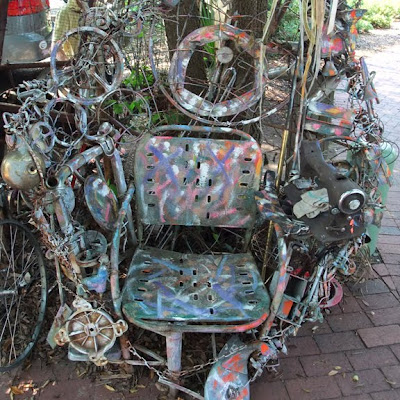
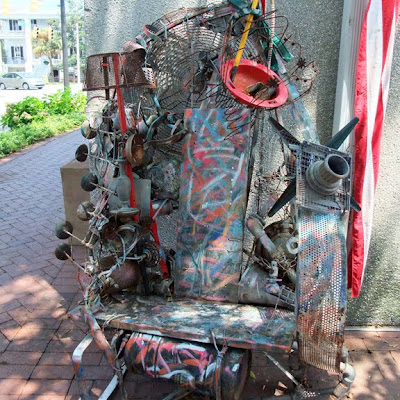
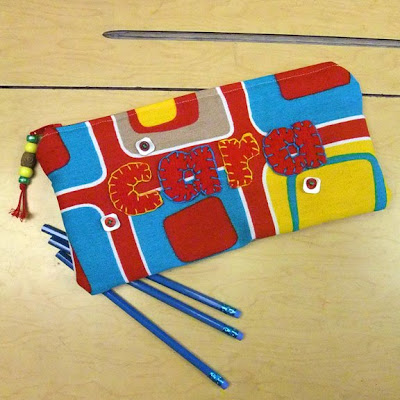
 That’s it….finished! This easy project didn’t take more than an hour or so. Admittedly, if someone told me 6 months ago I’d be sewing clothing not only for me, but for my kids, I would have laughed and told them that they were CraZy. I had less fear about making a sculpture out of 250+ Red Bull Cans than pushing a pedal on a sewing machine (which I now know is ridiculous because can art is certainly more difficult and frustrating than sewing, but that’s another story.) The bottom line is if I can sew, anybody can. Case closed.
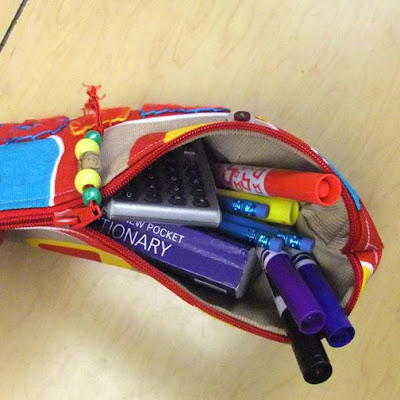
 Every time I go here this (see above) happens. Today I muttered to myself that I would steer clear of those tempting bottles. I’d get what I needed and get back out. The curve ball was that I had my 10-year old with me. Cara said she’d be looking at “it” while I was getting the things on my list. Well after I found the list items, I walked over to tell Cara I was ready to go…and I tried not to look, but I saw them out of the corner of my eye…the colors…the bottles…the clever names…they whispered hello…and yes, they got me. I had to try this one and that one…and our groceries are melting in the car…and I’m not here to buy nail polish in the first place..and this happens every single time……but maybe just one little bottle?
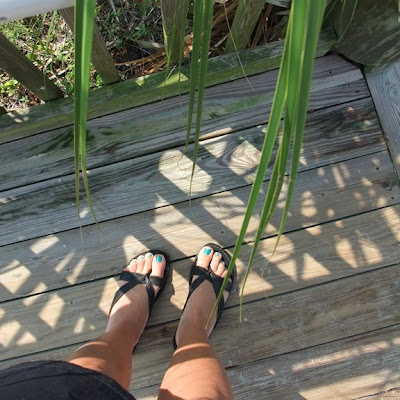
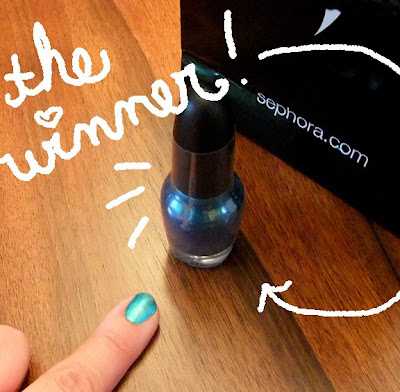 After much discussion, Cara and I agreed that we needed “Mermaid to Order.” Besides loving the name, the color reminds us of swimming pools, the ocean, and sunny blue summer skies. How could we not buy a bottle with all of that?
Maybe next time I’ll make it out without another color. maybe…
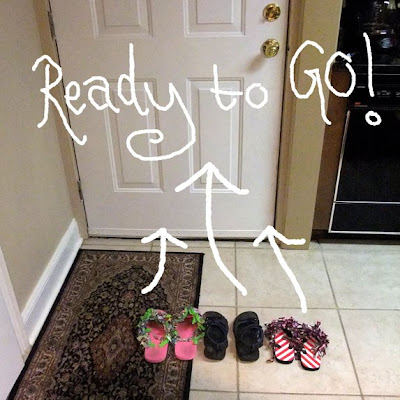
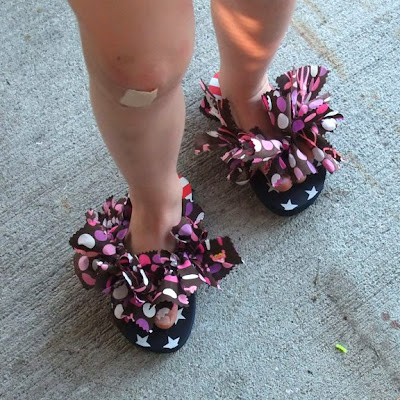 Here’s a kids project that we’ve been wanting to do for a long time. Last summer around this time, I made it a point to purchase on-sale-plainish-flip flops with the intent to transform into something much fancier. So this weekend, we gathered poolside with a few other crafty friends and created several new pairs of one-of-a-kind summer footwear.
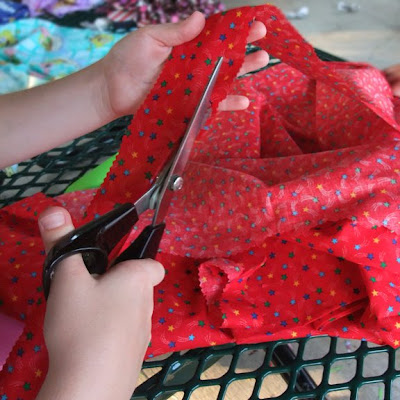 This is a great mobile project since all you need is a half yard or so of fabric, a pair of pinking shears and a pair of flip flops. To start, cut 1″ x 7″ strips with the pinking shears from your chosen fabric or fabrics. You’ll need about 30 or so strips depending on the size of your flip flops (like I’d be way more than 30 strips, but let’s concentrate on the kids shall we?!)
 Next, tie your strips around the flip flop band starting from one side. Make sure to double knot. Push the strips close together as you go. Keep knotting strips until your flip flop is completely fancified.
And that’s it! Put on your fancy flops and head back to the pool before summer gets away. quick!


 Here’s a summer project that’s been on my list. I’ve had a quart of chalkboard paint in my studio closet for the longest time. My original intention was to add some chalkboard real estate to the basement/kids area. However, my recent read of Jen’s blog about her chalkboard paint tray transformation inspired me to do something similar, but I changed my chalk tray up with a button twist. (disclaimer: please don’t worry as the poor children weren’t left out of the quart…this tray was in addition to giving them chalk space, but that’s another post.)
 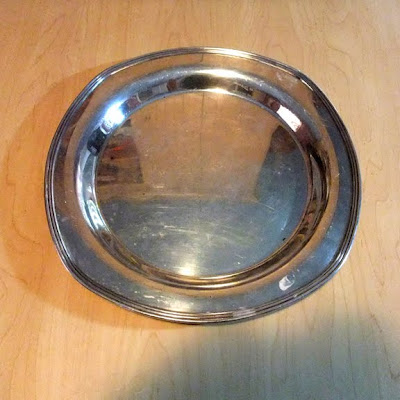 If you don’t have one of these that you’re willing to transform, don’t fret. Any respectable thrift store will have a few to chose from. I purchased my silver tray at a yard sale for 25 cents. I wanted something simple with an easily embellish-able edge.
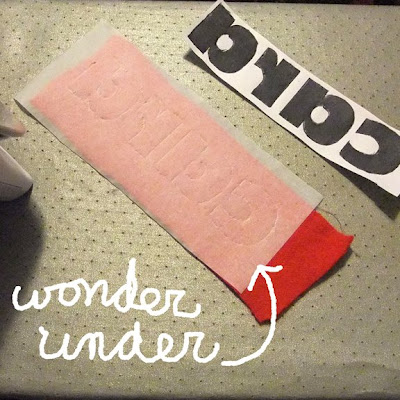
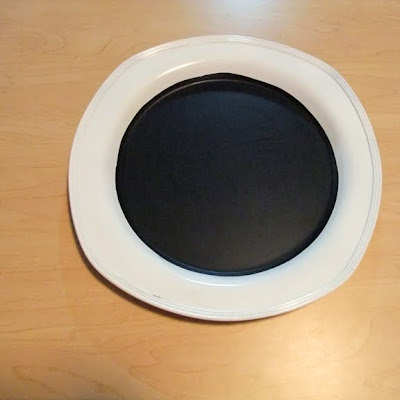 First, I primed the entire tray–front and back–with a spray primer (don’t skip this step…it makes tray painting so much easier!) Next, I used white spray paint to cover the entire front and then back of the tray. After that was dry, I applied chalkboard paint to the inside of the tray leaving the rim white. I needed two coats to get maximum coverage.
 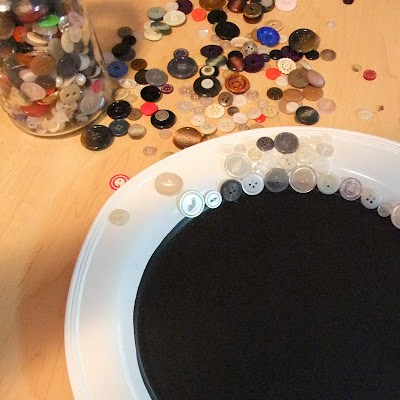 Let’s take a moment to talk about my button collection. I’ve been snatching them up for years at thrift stores and yard sales. Is it possible to have too many buttons?! I was proud of myself for actually using a small part of my button stash for this project. I tend to have some hoarding characteristics when it comes to buttons so this was good therapy.


