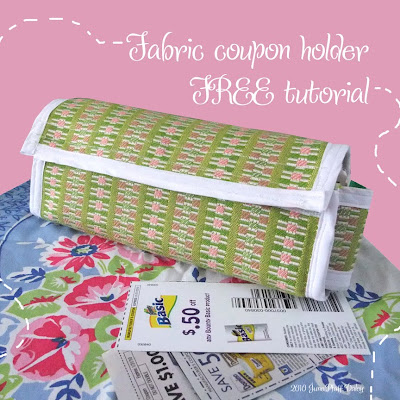
 Introducing my fresh, new, handmade coupon holder/organizer created with supplies I already had on hand. Now brace yourself. Below is “the before” that I actually purchased a long time ago…
Admittedly, it was embarrassing to pull this out of my purse. Nothing to do with the coupons themselves (pleeeze!), but just look. I’m not quite sure what I was thinking when I purchased a cow coupon holder, but apparently it was the most appealing fabric (to me) at the time…hmmmm. Along with the questionable fabric, it is showing signs of heavy wear. The point of the before: I based my new and improved coupon holder on the old by taking the cow apart to see how he was made…an inexpensive way to get a pattern for anything you might want to replicate.
 The fabric I used was a sample upholstery square purchased at a yard sale over the summer. If you can get your hands on these, they are perfect for smallish projects. If you can’t find them by chance at yard sales, befriend an interior designer or upholstery shop for last season’s samples.
materials:
heavy fabric (1- 9″ x 11″ piece; 2- 2-1/2″ x 4″ pieces)
3/4″ wide Velcro (2- 9″ pieces)
1/2″ wide double fold bias tape in a coordinating color (approx. 47 inches total)
sewing machine
iron
 (as usual please refer to pictures if my nontechnical sewing language becomes confusing.)
directions:
1. Attach two 9″ pieces of 3/4″ wide Velcro to the 9″ x 11″ piece of fabric. The Velcro will go on the 9″ top and bottom with the sticky on the good side of the fabric and the fuzzy on the back side of the fabric. (I used iron on Velcro and followed package directions. I also sewed the Velcro to make sure it was extra secure.) After the Velcro is attached, place this piece aside for a moment.
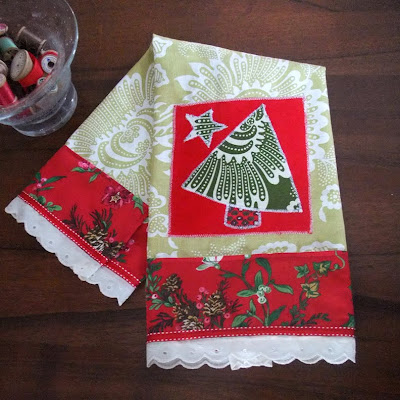
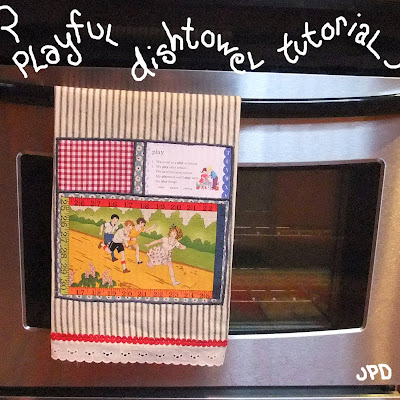 I’m a huge fan of this store’s artsy dishtowels. I figured it was about time I made a few myself. After all, when you break it down it’s just a fabric rectangle with trim and applique, right? The Totally Tutorials supplies/tutorial exchange with Ruby Jane’s Retro fabric was another spark that led to this project idea. If you were here yesterday, you read about that and my final piece of inspiration…a newly acquired, 1944 children’s dictionary.
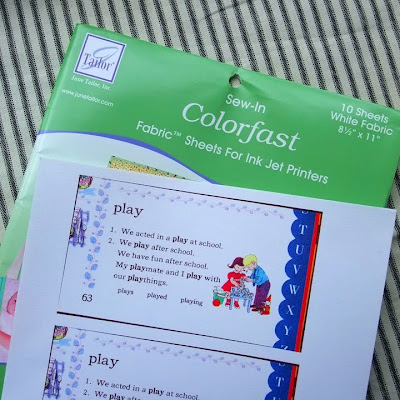 These fabric ink jet sheets have been waiting ever so patiently on my shelf for some time. Finally, they had their day. I loved the entries from my new (old) book and how they “played” off the fabric swatch from Ruby Jane. Here was the perfect opportunity to combine her fabric, a bit of the dictionary and experiment with the fabric sheets.
First, I scanned in the definition of play from that charming dictionary. I followed the fabric sheet directions by loading a single sheet into the printer and printing. I then did the colorfast treatment according to the package. The entire process went smoothly with no ink bleedage or distortion. I really can’t believe I haven’t tried this until now.
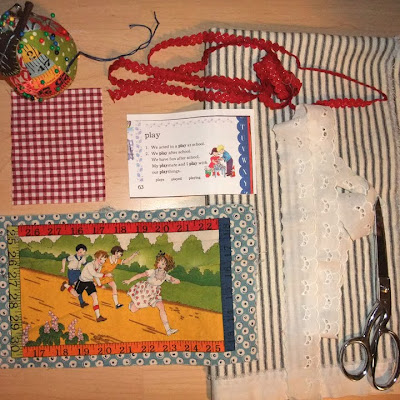 other supplies needed include:
fabric swatches (click here for Ruby Jane’s shop)fusible web21″ x 29″ piece of heavier fabric (main body of dishtowel)trimscissorssewing machinecoordinating thread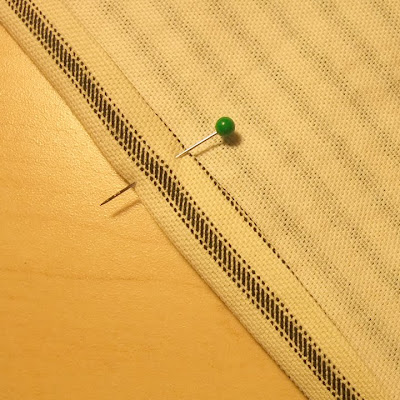 First, iron the edges up and under approx 1/4 inch in on all sides of the dishtowel fabric. Then pin and sew close to the inner edge.
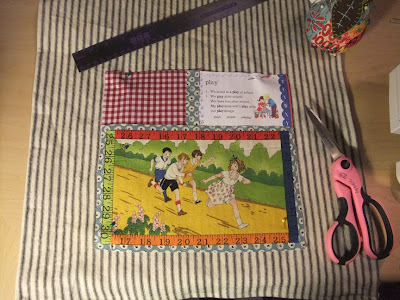 Iron fusible web to the back of all fabric swatches. Peel off paper backing. Arrange and pin fabric pieces on the dishtowel. Iron fabric swatches to the towel.
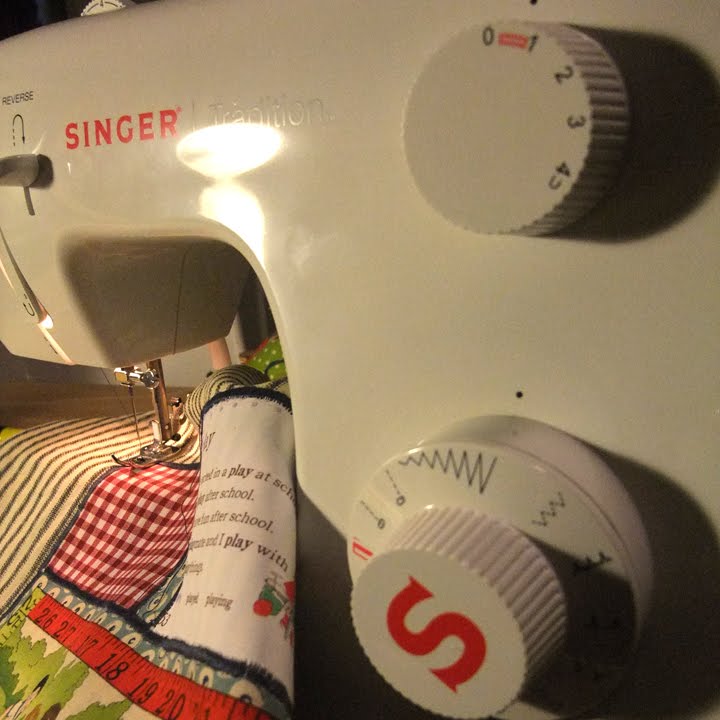
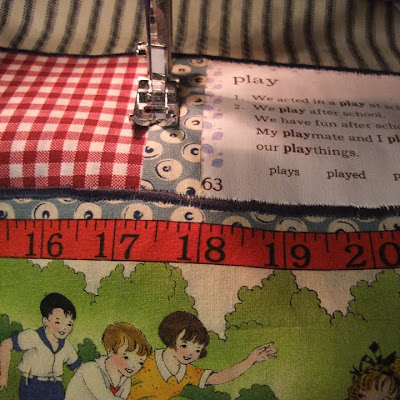 With contrasting thread, zigzag-stitch around the various fabric pieces.
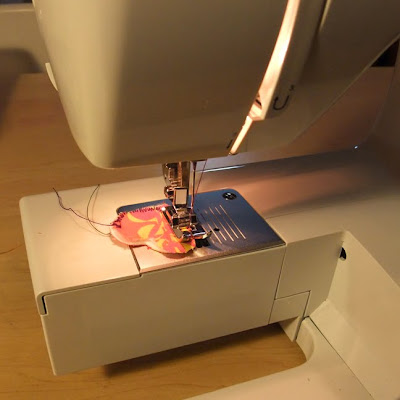
 Here’s a peek at what my machine was set at for this part.
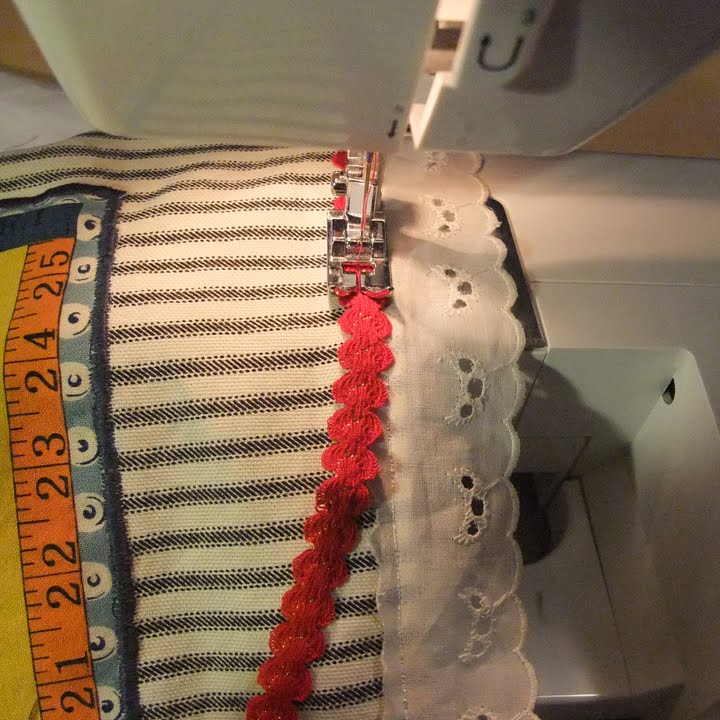
 After the applique pieces are stitched, pin ruffle trim to the bottom and top edges of the dish towel. Next, sew the trim to the front edges of the dishtowel.
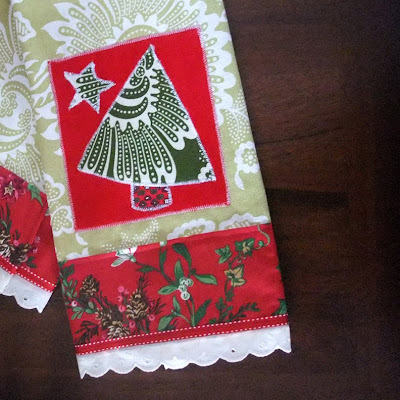
 Finally, attach red trim on top…reminiscent of the fancy borders from the original children’s dictionary (note the right edge of the “play” definition fabric snippet.)
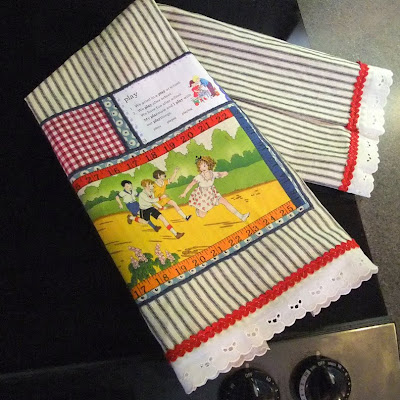 And there you have it…a playful, retro dishtowel whipped up in under two hours to add a bit of whimsy to your kitchen or to gift. I can hardly wait to make more dishtowels integrating initials, recipes, photos…all kinds of personal touches turned to fabric as easy as clicking “print.” And make sure you visit Ruby Jane’s shop for Anthro-like retro fabrics. You know what they say about all work and no play… ; )
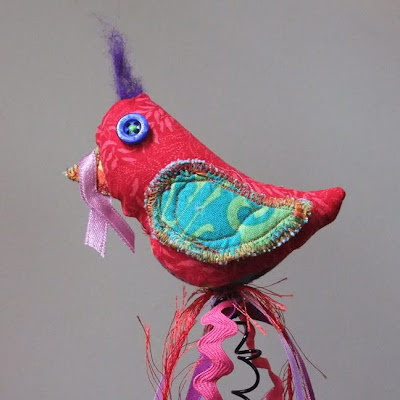
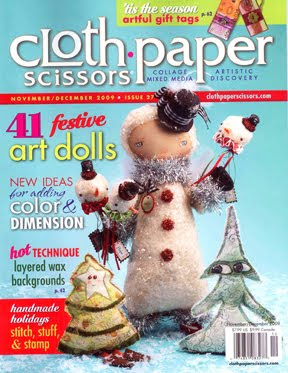 I’m so pleased to have my art included in the latest *gorgeous* issue of Cloth Paper Scissors. There is a ton of amazing work in here. I especially love the “Stuffed Horse Ornaments” by Samantha Jenkins and “Everyday Women” by Nola Hart, but that is naming just a few for sure.
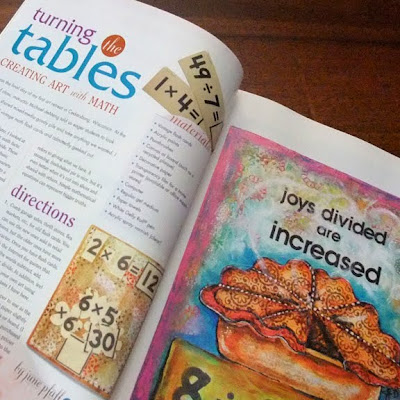 My article included in this issue provides a step-by-step to creating art with flashcards. I promise, it will get you thinking about equations in a more artistic way.
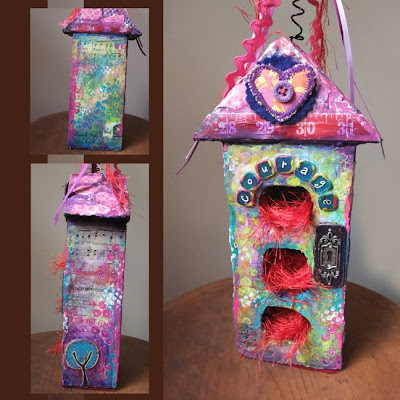
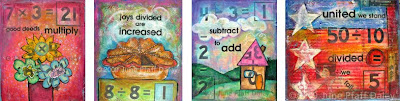 The original flashcard pieces featured in the article are now available for sale over in my etsy shop. These pieces have been created on vintage self-hanging plaques so there is no need for additional framing. Prints of the originals are also available.
 Okay back to sick kids. That certain flu has officially hit our house…yes it’s definitely multiplying which means my undivided attention has been focused on sanitizing and taking temperatures. As a result, we had to subtract our weekend travel plans. Nothing more to add to that (except of course to bug you with math puns. Sorry about that. : )
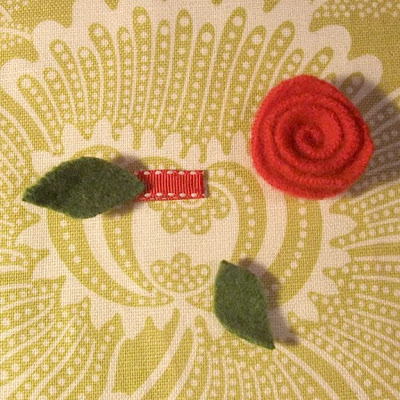
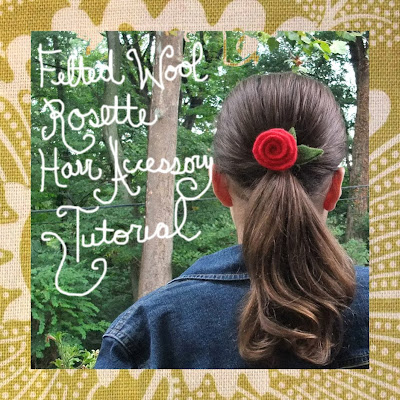 The past week has been filled to the brim with design work, kid’s homework and activities plus all the usual. That doesn’t mean that I haven’t been dreaming of new projects. Over the weekend, I took a crafty time out and made a half dozen or so of these happy rosettes from recycled felted wool sweaters. The idea stemmed from a rosey wreath project by Betz White in the new Holiday Crafts magazine by Better Homes and Gardens that I’m planning to make very soon. This tutorial focuses on a hair clip, but the idea can easily be adapted for pony tail holders, headbands and pins.
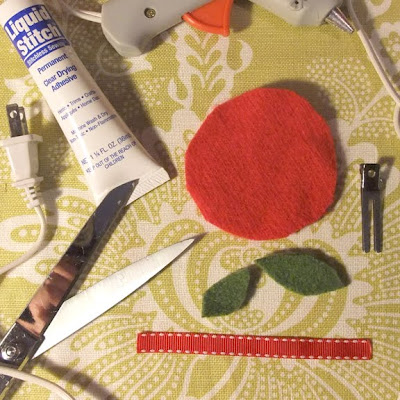 In addition to felted wool (in the colors of your choice), you’ll need a 3/8 inch coordinating ribbon, a hair clip, fabric scissors, fabric glue and a glue gun.
To felt wool: Place your thrifted or unwanted 100 percent wool sweaters in the washing machine. Wash on the HOT cycle. Place the sweaters in the dryer. Basically do all that you would never dare do with 100 percent wool sweaters and feel very rebellious. Next, go over to your local tattoo parlor…kidding. Do that after you make your rosettes.
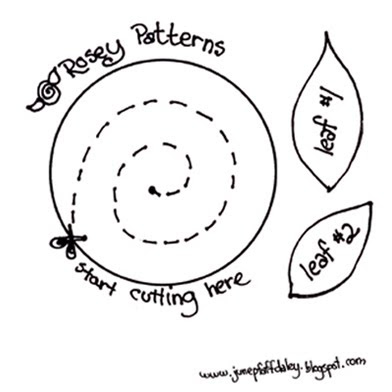
For the patterns, left click on the above image and print. Your circle pattern should be approximately 3 inches. If for some reason your circle prints larger or smaller than three inches, adjust the print percentage as necessary.
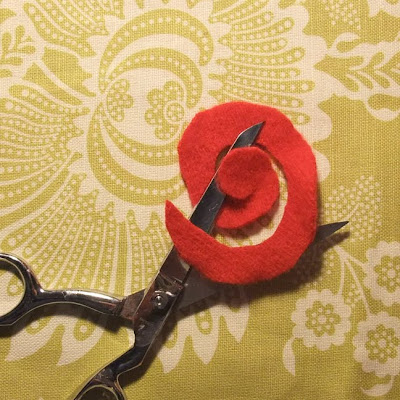 Using your pattern, cut a circle from the rose wool color. Then, cut a spiral shape using the pattern as a guide. It doesn’t have to be perfect (no flower is) so wing it with confidence.
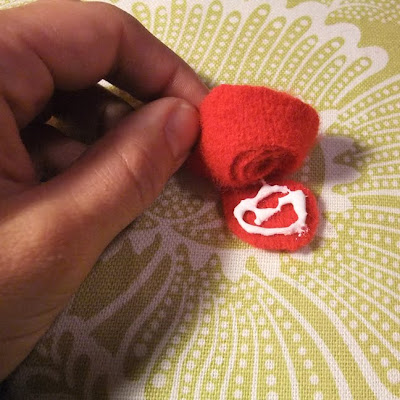
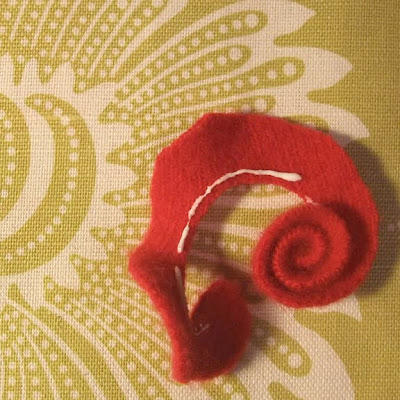 Starting from the outside of the spiral, use fabric glue to attach at the bottom edge of the flower. Wind to shape the rosette.


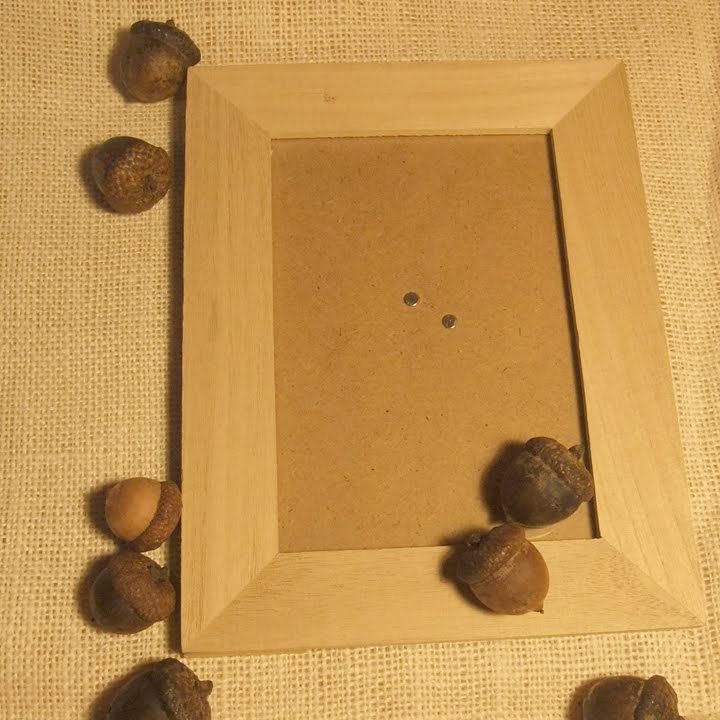
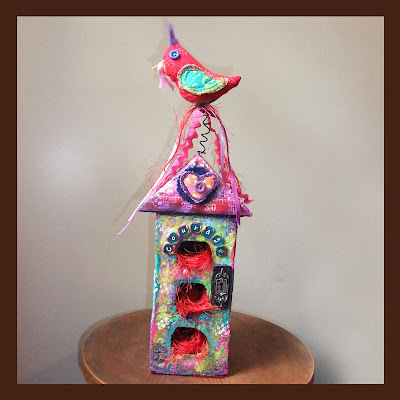
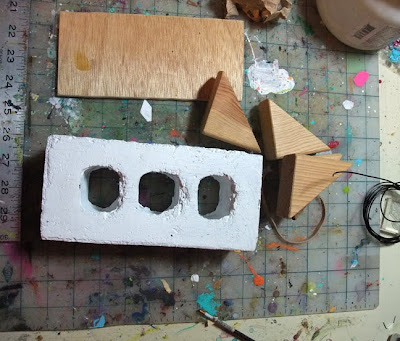
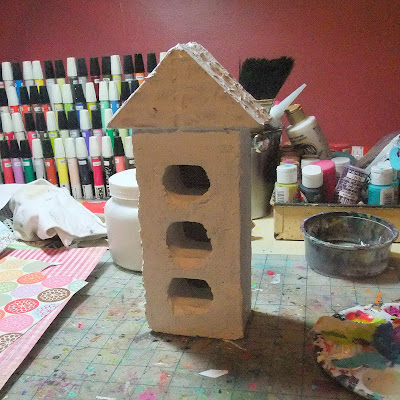
 From the very depths of our studio swamp, the Crocorator was born. And this weekend, he was finally put to the ultimate test.
 We’re talking the annual Cub Scout Pinewood Derby. This is where the cub scout fashions a racing car of his choosing from a kit containing a block of wood, wheels and axles. (In some cases the scout is given two kits when Dad cuts crocodile teeth too deep into the axle joints, but I digress…)
 …he did win a trophy for design which was carried around the rest of the day. There’s absolutely nothing like a trophy smile : )


