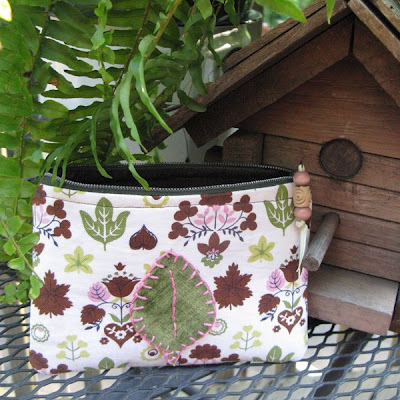
 This account does have a happy ending so I’m showing off the finished product first. Despite large amounts of work that has absolutely nothing to do with needing to make a zippie pouch I couldn’t help myself. My zipper collection (unopened packages of zippers collected from thrift stores and yard sales) continued to haunt me until I could take it no more. I had to finally figure out how to sew something that zipped and conquer this overwhelming fear.
 First, I gathered and cut everything I envisioned becoming part of my zippie pouch. Four 6″ x 8″ pieces of fabric (two rectangles from the print and two from the brown for the liner.) I also ironed interfacing to the print fabric to make the bag a bit sturdier. I cut a leaf shape from an upholstery kind of fabric on hand. Then the star of the show…the 7 inch forest green zipper…deep breaths…is it laughing at me? no…just my imagination. Next, I went straight to the computer and googled, ‘how to sew a zipper.’ I came across this awesome self-help zipper tutorial that I highly recommend if you too have a phobia regarding making things that zip.
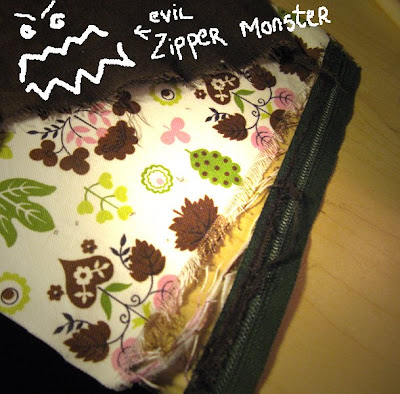
 So I’m not going to lie. Even with the easy-to-follow tutorial on screen, I had an early zipper accident which forced me to rip (what’s a seam ripper??) the zipper off the fabric, trim everything and start again. I muttered to myself something inspirational sounding about how mistakes are necessary for growth etc. etc. and started again. I would not let the evilzippermonster win. After rereading the tutorial and studying the pix very carefully, I figured out my error. The rest of the project went off without a hitch. It was magical really…flipping the fabric this way and that, turning it inside out and voila! Everything faced the right way including the liner PLUS the working zipper was sewed in exactly were it was supposed to be. What a trick indeed.
 Before the pouch was all stitched together, I blanket stitched and back stitched (do I sound like I know what I’m talking about?) the leaf applique on the front. A little ribbon and some beads for a zipper pull and there you have my new…I’m thinking cosmetic…bag. Now I want to make about 20 more. “Hi my name is June…and I can sew a zipper.”


You are too funny. It is rockin’ cute though :-)
And to think that I buy zippers to glue on collages, hmmmm, never thought of actually sewing one, lol.
you sound JUST like me…i have LOTS of zippers, however i have not attempted to defeat the zipper monster. it looks as if you have defeated the evil monster…your zipper pouch is super cute.
I don’t like zippers either. I have been seeing a lot of mixed media projects in CPS and QA that use zippers as part of the work, not as an actual functioning zipper. That looks pretty cool too! However, sometimes you just have to sew a zipper. May the force be with you!!