 “The grass is greener on the other side of the fence” is a timeless proverb. Trying to keep up with the Jones’ can leave your head spinning. The phrase happens to be permanently stuck in my head after years of hearing my mom repeat whenever I chose to whine about whatever bugged me about me at the time. Of course I knew the true meaning was that the grass might seem greener for other people, but seldom was greener when you came right down to it.
 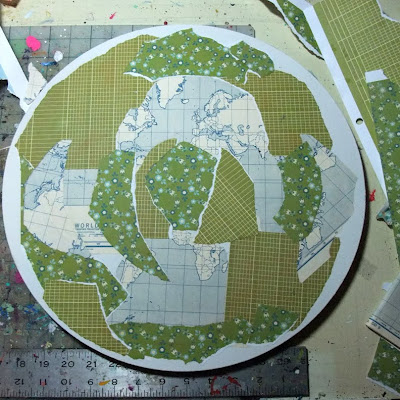 I’ve been wanting to paint a circular canvas for awhile. When this idea popped into my head, I knew it was the perfect opportunity to break out of the box : ) I chose a 16″ round canvas and started the piece by adhering ripped map pieces along with flowery and grid (fence-like) decorative paper.
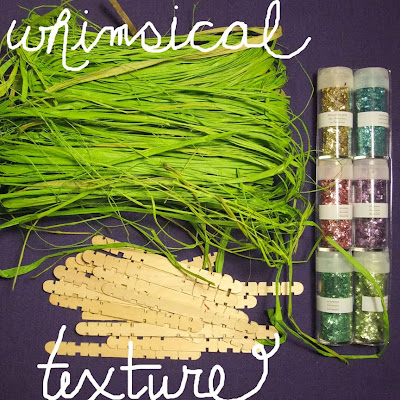
I wanted my choices including canvas shape and materials to work with the whimsical nature of the idea. Raffia was a given for the grass. I also happened to have those cool wooden sticks (kids building sticks from back when). And have I mentioned my latest obsession? Much like half of the crafting universe… it’s GLITTER! (check out the Martha Stewart vintage line…ahhhhhhh.) The point here is to think creatively when on a mixed media adventure. Sure a fence is simple enough to paint or make with paper…but what about a painted fence from actual wood…hmmmm.
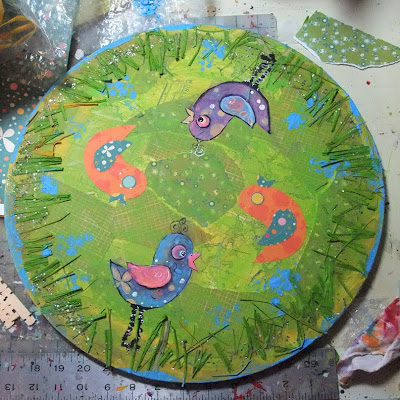 This process shot is a behind-the-scenes as to how I work. A little paint and then a little adhering (with gel medium), then more paint and more adhering, etc. I build up the layers plunging right through that awkward-i hate-this-piece moment that happens at right about the halfway point with every painting I do.
 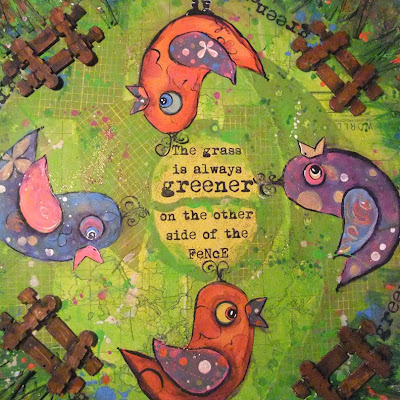 In the end, I’m very happy with how this painting turned out. I’d keep it if I had more wall space. Until I figure out how to get more of that, I’ve listed the original over in my etsy shop. No prints will be made of this one. It’s a circular one-of-a kind.
*bonus points* if you can answer why most paintings are square or rectangular. I really wanna know because circles seem more fun!
 Introducing my fresh, new, handmade coupon holder/organizer created with supplies I already had on hand. Now brace yourself. Below is “the before” that I actually purchased a long time ago…
Admittedly, it was embarrassing to pull this out of my purse. Nothing to do with the coupons themselves (pleeeze!), but just look. I’m not quite sure what I was thinking when I purchased a cow coupon holder, but apparently it was the most appealing fabric (to me) at the time…hmmmm. Along with the questionable fabric, it is showing signs of heavy wear. The point of the before: I based my new and improved coupon holder on the old by taking the cow apart to see how he was made…an inexpensive way to get a pattern for anything you might want to replicate.
 The fabric I used was a sample upholstery square purchased at a yard sale over the summer. If you can get your hands on these, they are perfect for smallish projects. If you can’t find them by chance at yard sales, befriend an interior designer or upholstery shop for last season’s samples.
materials:
heavy fabric (1- 9″ x 11″ piece; 2- 2-1/2″ x 4″ pieces)
3/4″ wide Velcro (2- 9″ pieces)
1/2″ wide double fold bias tape in a coordinating color (approx. 47 inches total)
sewing machine
iron
 (as usual please refer to pictures if my nontechnical sewing language becomes confusing.)
directions:
1. Attach two 9″ pieces of 3/4″ wide Velcro to the 9″ x 11″ piece of fabric. The Velcro will go on the 9″ top and bottom with the sticky on the good side of the fabric and the fuzzy on the back side of the fabric. (I used iron on Velcro and followed package directions. I also sewed the Velcro to make sure it was extra secure.) After the Velcro is attached, place this piece aside for a moment.
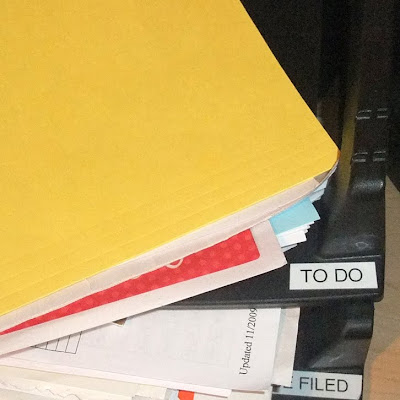 Maybe it’s that time of year or the weather or something, but I’ve recently caught myself starting to google, half-seriously, “What should I do now?” If only I could bing the Internet to provide a personalized step-by-step artistic path…what to prioritize and/or what to let go. Cold, dreary weather is a creative drain. Fortunately, I was able to snap out of it this weekend to organize my studio. In the process, I realized a thing or two.
 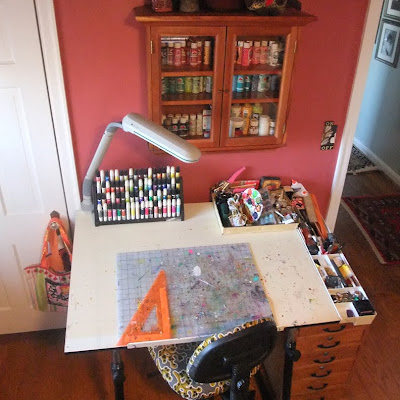 I’m pretty sure that one of the best cures for a muddled and disorganized head, is a neat and organized work space. Messiness is distracting.
 I marvel at design, craft and sewing books that manage to keep a single focus from beginning to end with beautifully, illustrated step-by-steps along the way. This is not possible in actual life.
 I believe in being prepared for any occasion. However, it’s also important to be able to see what you already have.
 I sorted through overflowing fabric bins and let go of uninspiring pieces. Extra stuff adds weight rather than inspiration.


