
May 2, 2011
A sunny poppy garden

I’ve finished up my first round of poppy paintings. Included are plenty of actual poppy seeds. I kept things relatively simple (no text) to keep focus on the poppies.

(purple poppy print available here)
For all three paintings, I used tissue paper to create the flowers and Mary Beth’s awesome stencils to add texture in the background.

(fuchsia poppy print available here)
Our live flowers have had plenty of April showers for blooming purposes. Now I’m ready for a little sun. please.

April 26, 2011
An Office Staple

I’ve stared at the same old, ugly stapler on my desk for a long time. I use that standard office tool almost every day. I decided it was time that it got a makeover/sprucing up and joined in on my mantra of “art just for fun.” Now when I staple documents together, I can’t help but smile at my cheerful office companion.
PROJECT MATERIALS:
stapler;
staples;
Jacquard Piñata alcohol-based paint (I chose a palette of white plus three additional colors: sunbright yellow, lime green, baja blue);
Jacquard Piñata clean up solution;
Jacquard Piñata claro extender;
clear satin fixative;
16″ of trim (more or less depending on the size of stapler);
aluminum flashing (to use as a paint palette);
paint brushes;
glue gun and glue sticks.

DIRECTIONS:
1. Clean stapler as needed. When the stapler is clean and dry, apply paint directly from the bottle to the stapler. You may also squeeze a small amount of paint to the aluminum palette and apply the paint to the stapler with a paintbrush. Continue adding paint to the stapler. Piñata paints dry quickly so use claro extender if you want to buy yourself more drying time. Otherwise, enjoy experimenting. You can always remove the paint with the clean-up solution and start over if you wish.

2. After you have painted all the parts of the stapler, let dry, preferably overnight.
3. To give your stapler an extra coat of protection, spray with a clear satin fixative and let dry.

4. Choose a coordinating trim to decorate the top edge of the stapler. Cut the piece to fit all the way around the top edge. Make sure the trim does not interfere with the loading of staples or the stapling! Use a glue gun to adhere.

5. Don’t forget about the staples! Who says staples need to be a boring silver? Apply Jacquard Piñata alcohol-based paint directly from the bottle to the top and sides of the staples. You can paint an entire row one color or make a rainbow-colored staple row so you never know what color will emerge next.
Enjoy your one-of-a-kind, extraordinary stapling sensation. This functional work of art will brighten up any office space making work seem more like play.

TIPS:
Experiment with different paint combinations on the aluminum palette before applying to the stapler. Limiting your palette to three or four colors may produce the best results.
Try painting wet on wet, as well as allowing the colors to dry between applications.
Add white to the colored paints for a more opaque effect. However, the color will still remain somewhat translucent blending with what’s underneath.
Young artists can try this project too. Nobody should be stuck with a boring stapler!
Remember there is no right or wrong way to paint a stapler.
For a printer friendly pdf of this project click here.
p.s. I’m super excited to now be collaborating with Jacquard Products to develop new project ideas with their fabulous art supplies! In the notice of disclaimers all Jaquard products have been provided. However, a glowing recommendation is all my own.
April 12, 2011
And you thought they were only in muffins

Ever have this problem…Poppy seeds in gel medium? Or maybe gel medium mixed in with poppy seeds? What…you haven’t?! As I stare at the latest conundrum turning my left brain off has gotten me into, I wonder if I’m the only person on this planet to do this. Apparently, I was too excited about the idea of using poppy seeds in my poppy field painting to stop and consider the ramifications. So now I have three options:
(a) Pick each poppy seed out of medium with tweezers (waaaaay crazy);
(b) Throw the entire jar of medium away (too wasteful);
(c) paint more poppies
It seems option (c) is the only logical answer.

Here’s a sneak peek at a portion of my original painting still in the works (it’s big…24″ x 36″) that sparked my bright idea. Along with poppies, we’ve got a strange combination of ballerinas and snowpeople in the studio today in various stages of completion. With all of that on my palette, I hardly have time to think logically. However, I’m sure going to try to remember this lesson: One of the smallest seeds in the universe should neverever come near the actual jar of gel medium.
April 4, 2011
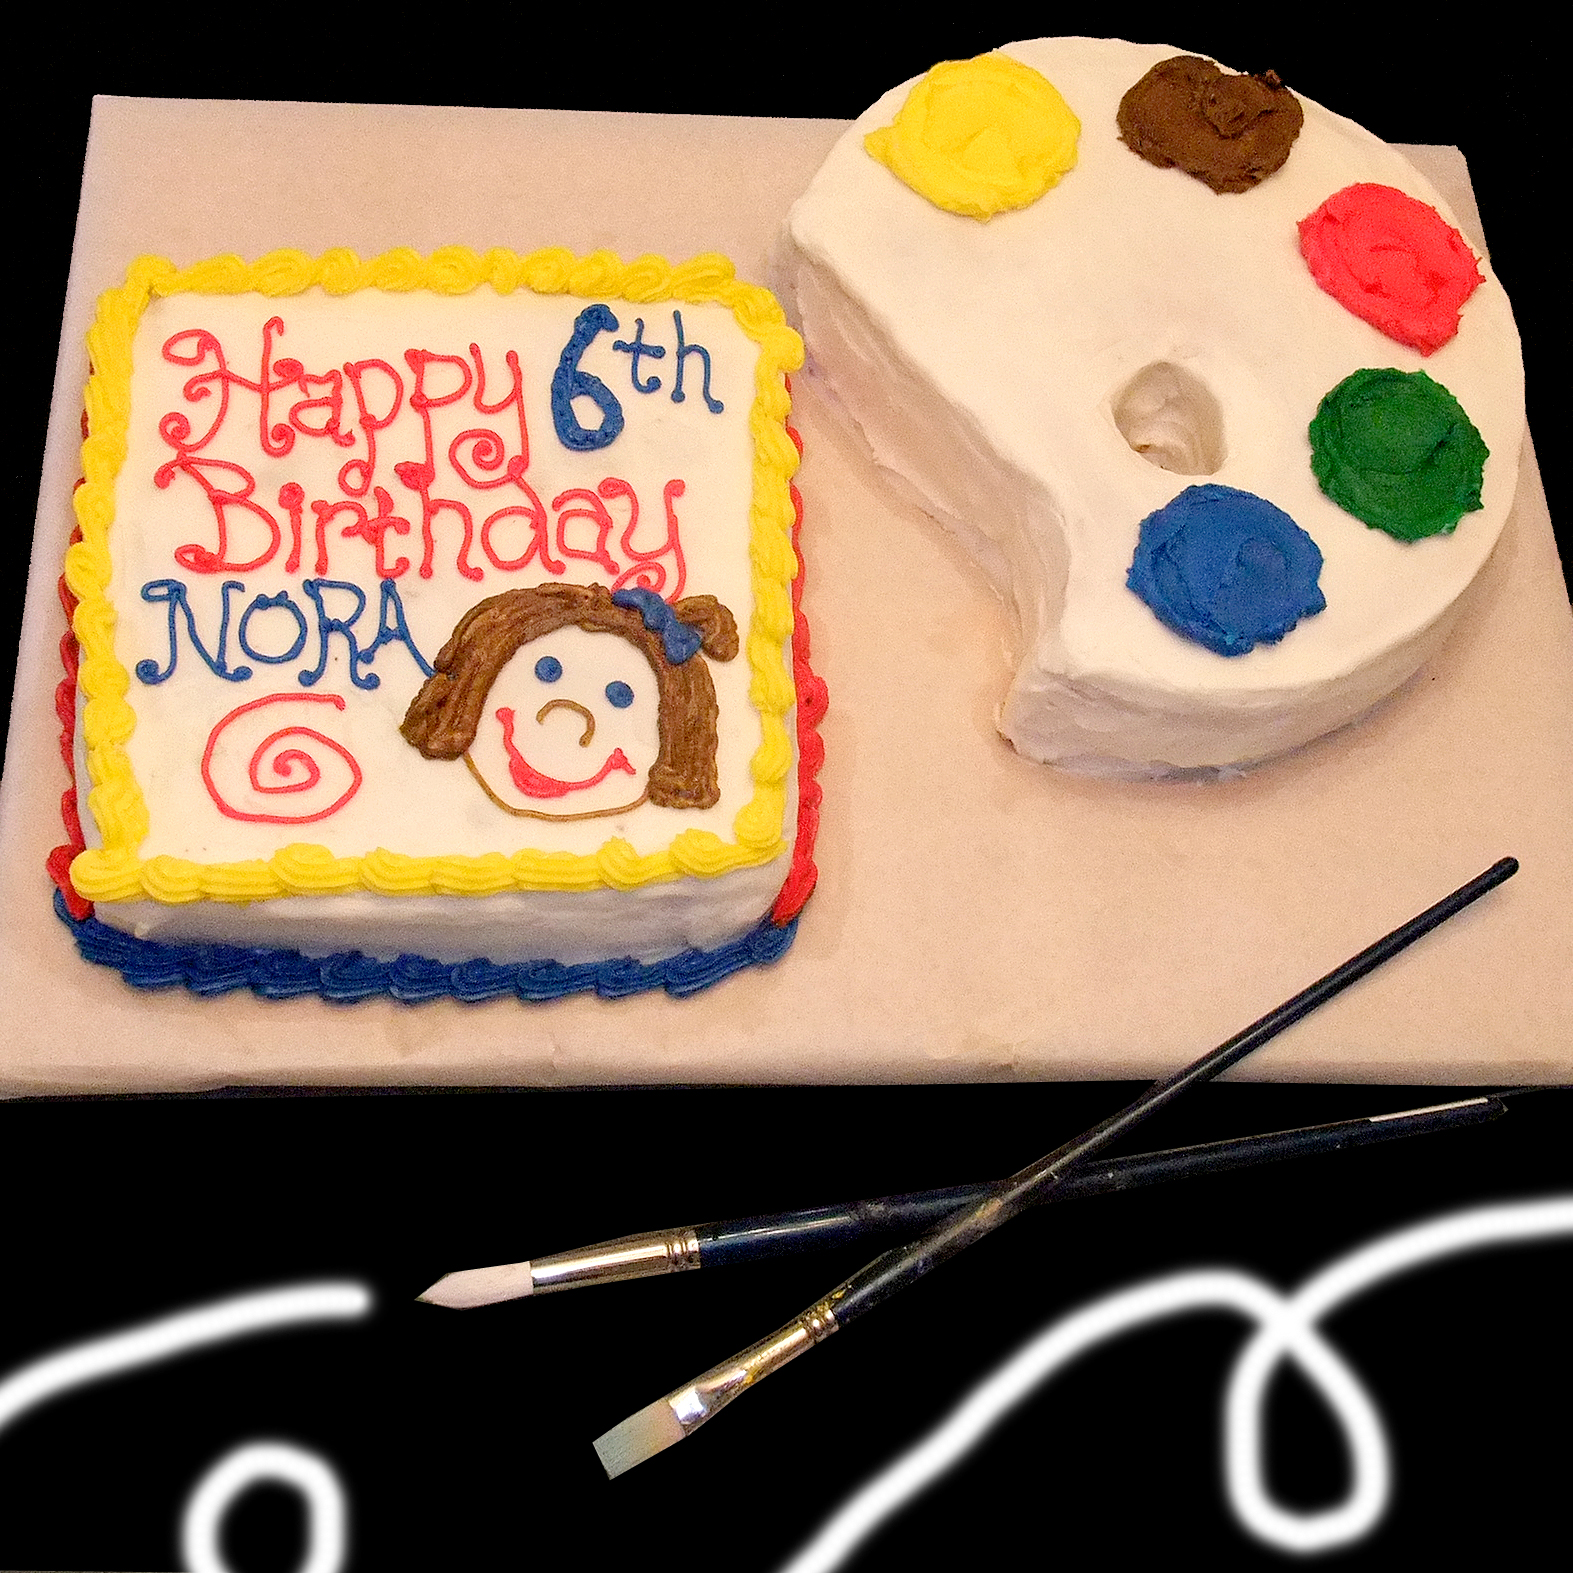
Turning Six

As much as I can hardly believe it, the youngest has turned six. We’ve wrapped up birthday season with her celebrations. Celebrations that included an art-themed party here at the house and a cake to match.

Then there were the couple dozen or so cookies that went to kindergarten so she could properly celebrate in school as well. We came up with the *brilliant* idea for cupcake cookies since actual cupcakes were banned from the classroom this year. We thought our favorite third time/three Daley kid kindergarten teacher would be amused.
As for things here, I’m juggling all sorts of new projects which have my normal routine slightly out of whack. Hopefully it will all make sense and feel like second nature soon which should result in more frequent updates. Is it really April already?!

March 19, 2011
Cultivate

print available here
This week’s challenge over on Illustration Friday is “Cultivate.” Growing beauty begins with cultivating sturdy roots. This means putting in some hard work and dealing with rainy days. Growth happens before the actual flowers bloom. And that’s not to say that everything “planted” around here blooms, but I believe if you plant enough seeds eventually you’re going to be rewarded with flowers.
March 18, 2011
2011 Vegas Art & Soul

I’m finally back. And no I haven’t been in Vegas for an entire month, except maybe in spirit. Me and two of my very favorite Chicagoland girlfriends met up at the Green Valley Ranch resort for four days of fun and creativity at Art & Soul. Sure there was the art part, but even better was spending time with these two. Also ranking high on the list: The $4.99 all-you-can-eat breakfast buffet; Monday night’s Meatballs-n-Martinis (no kidding); Shopping (Anthropologie was right outside the door!); Early morning workouts at the spa’s beautiful facility; and laughing so hard/loud the resort needed to call the room to make sure we were okay (eh hem.) Then there was the debut of Claire (pix on right) and I on a ginormous stage for Rock Star karaoke which included a little Joan Jett with a LIVE band, strobe lights, smoke and an enthusiastic audience. Thank goodness Heather can’t figure out how to load the video she shot of that debacle. And “unfortunately” I don’t have karaoke photos, but here at least is the art part…

A Fluid Romance taught by Kari McKnight went over a wide range of techniques I experimented with in the painting above. The painting itself is a tribute to my grandparents loaded with meaning and memories.

While I wasn’t sure if Steampunk was going to rock my world, I have to say that I found the class fascinating. Brenda Mattson taught us the history of the Steampunk movement and turned us loose on boxes containing thousands of inner vintage watch workings and other time pieces to incorporate into our jewelry making. I really got into it. Two more pieces to follow…

A steampunk flower and…

a more modern take using the backs of the timepieces. Check out the gorgeous colors.

Lisa Kaus took us on a color journey in Color My World. I composed a personal piece with a “D” for Daley and a flower for each of my kiddos. I had brought along some samples of their handwriting to personalize each flower.

Last but not least, Musical Cats and Dogs taught by Julie Haymaker Thompson was one of my favorite classes. I made the music box above featuring a little dog at a party. The box appropriately plays “Happy Birthday.” When my kindergartner saw this she proclaimed it was all she wanted for her upcoming birthday. No toys, nothing else, but the music box. Her wish was granted several days ago when she turned six. My youngest celebrated with her music box and a cake made especially for the budding artist she is (Cake post soon!)
If you’ve ever considered an art retreat, let me highly recommend. As an artist, it’s so important to step out of your box and learn different techniques. Making what you learn your own will add new dimension to your work.
If you’re not completely convinced, I was reading Town & Country the other night and stumbled upon this by a physician/nutrionist: “Age 40 marks the onset of decline in areas of memory and learning, but by learning something new in middle age, we encourage brain growth and stop brain decline. Things like traveling to a new place, learning a language or taking a continuing education class keep the brain young.” So there. And if art isn’t your thing, consider travel (when you can) along with classes that interest you. After all, we have to keep our wits right?!
February 21, 2011
Chocolate Layered

I’m baking for this week’s Illustration Friday challenge: Layer. How about a nine-layer chocolate cake?

You can tell this is an old recipe since the first ingredient reads “1 cup fat”. Almost makes the idea of chocolate cake less appealing. Almost.
February 14, 2011
Have a Sweet Valentines

Commercial or not, Valentines day is one of my favorite holidays. Perhaps because of the amount of sugar + chocolate involved. Even if one just recently found their way back to the treadmill, you have to partake in some of that. I mean seriously. Enjoy your day.
February 8, 2011
Do your neighbors know what you do?

I was honored when Joanne Gilbert, a contributor over at the blog, Oh My! Handmade Goodness, contacted me about using my art (above) to illustrate her most recent entry. Check out Handmade Here: Creating Your Local Life which speaks to artists who are often invisible in their local communities. The article also offers suggestions to becoming visible and reaping the rewards of being known as an artist in your own territory. It’s definitely worth a read. Thanks Joanne!
February 1, 2011
Building a cake

In case you’re wondering where I’ve been, this cake took a really long time. I’m exaggerating a bit (since said blocks were eaten a good week ago), but not by much. I thought the concept was pretty simple (I know I’m not the first to make a Lego cake), but getting buttercream to cover all of those nooks and crannies was a chore to say the least. And yes, fondant would have been easier. That’s if we liked the taste of that. Our fav cake shows like Ace of Cakes and Cake Boss sure have raised the bar (let’s see them make a Lego cake with buttercream!) Anyway, if you’re brave enough to attempt such a cake for your little Lego fan here’s the inside scoop…

It’s basically one cake made in a 9″ x 12″ pan and cut as so. Then you’ll need to bake up 16 mini cake muffins for the little connector dots on top. I recommend freezing the various cut parts for easier icing. Or better yet, stick a few little Lego guys in the 9″ x 12″ and call it a day.


