
While my blogging life as been on a rather extended break, please follow me over on Instagram @junedaleyart for previews of my latest work!


While my blogging life as been on a rather extended break, please follow me over on Instagram @junedaleyart for previews of my latest work!

 One of the first stencils I designed for StencilGirl was the Spider Web stencil. I’m not sure what that says although I’m betting I was prepping for Halloween and thinking how I needed a web stencil. I’ve used it for many of my Halloween projects including this pillow. If you’re interested in making your own, the complete tutorial can be found over on the StencilGirl blog. What projects will you be creating this fall?
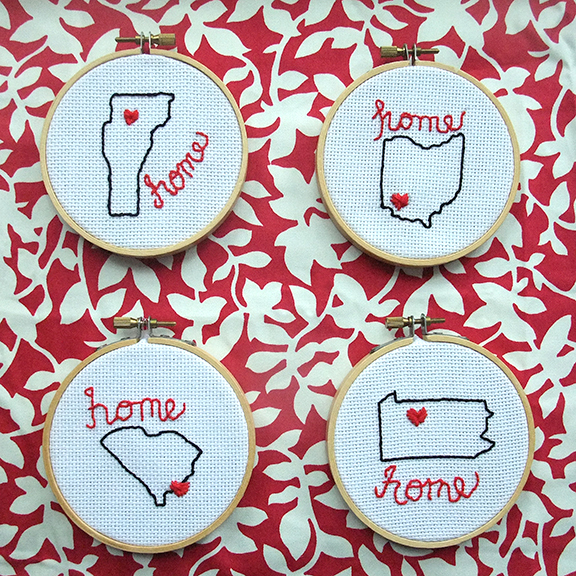
Today I’m showing some state love over on the Stencil Girl blog. These personalized, embroidered hoops make great gifts for family and friends. Click here for the full project!

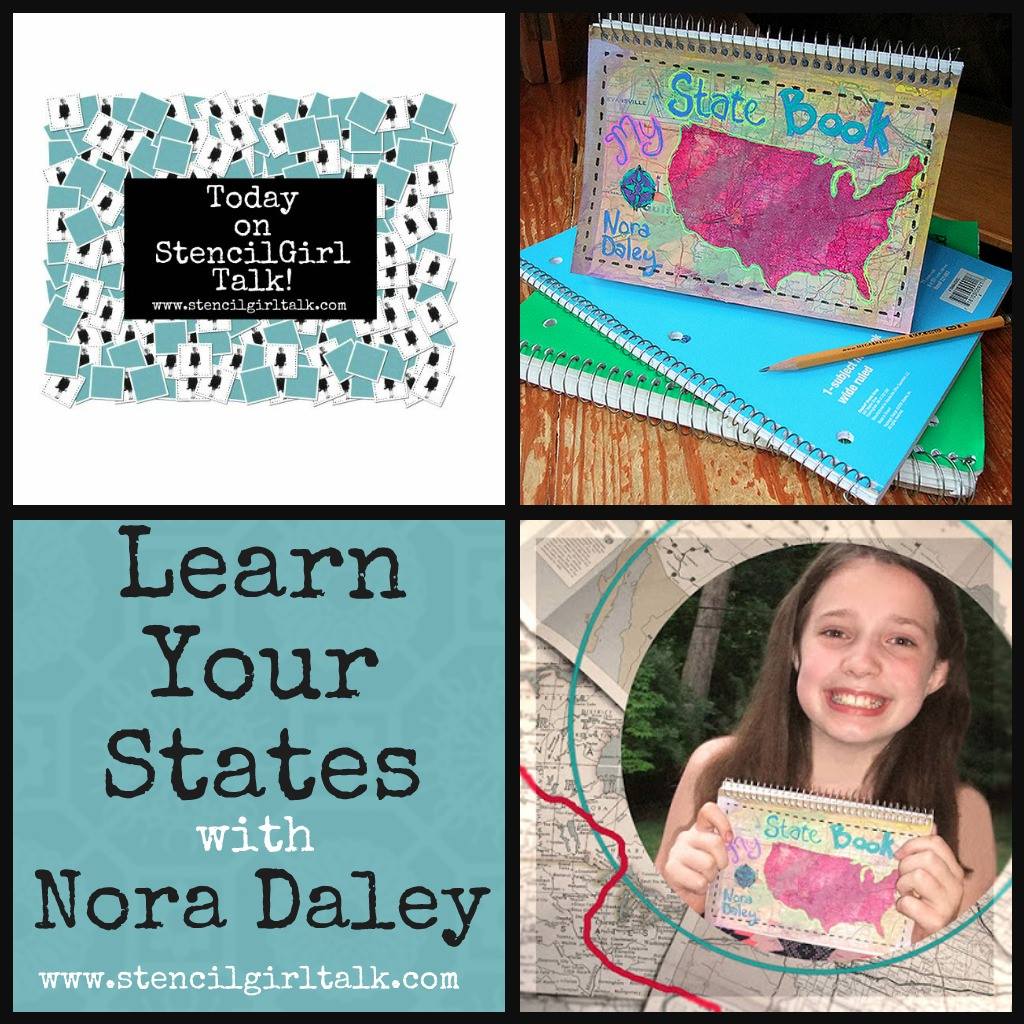
My daughter Nora demos how to make a State Study book (a great summer project!) over at the Stencil Girl blog.
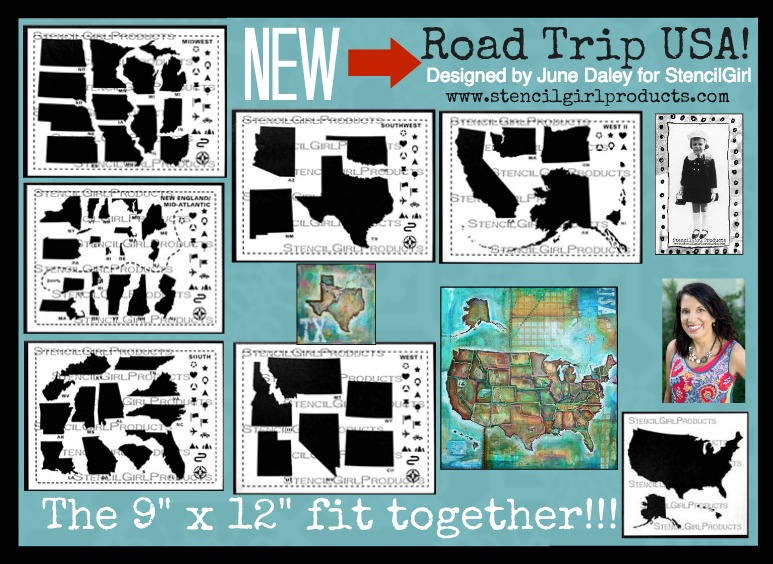 Please travel over to Stencil Girl’s blog to check out my latest stencil release. I’ve blogged there about the design process and several paintings I’ve already created using these stencils. I’m so excited about this collection!
I’ve had about enough of the snow. And cold. And ice. So I’ve started my spring cleanout which in my mind is the equivalent of a rain dance. Logical right? If I spring clean, spring will come? Please don’t tell me otherwise.
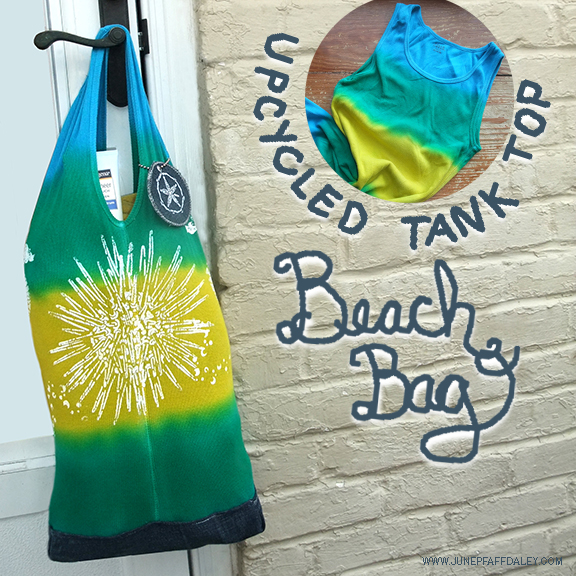
As often is the case, with one project comes another and pretty soon I’m turning one of the girl’s outgrown tank tops (plus a pair of jeans) into a beach bag and a tag. For the complete tutorial, click over to Stencil Girl. Spring cleaning and ocean themed stencils? Yep, spring is sure to come sooner rather than later. You can thank me later.

So forever ago, I came up with the lunch survey. It was my way to find out what actually goes on with my sweet little munchkins while they were away at school for 7+ hours per day. As everybody knows the lunch period is a pretty good indicator of what’s happening (socially in particular) on any given school day. Plus it’s fun for the kids to find “notes” in their lunch bag. I know at one point my firstborn was printing out ten copies a day to distribute to her cafeteria table who also insisted on submitting survey results to their parents. I realized then I was on to something. The survey has appeared in several magazines including Family Fun. I get emails about it constantly which I totally appreciate. I love knowing that others are finding it as fun and informative as my kids and I did and still do. So here it is again. I’m offering the printout for private use only.
To print the survey, please click here.
If you would like to do something bigger with the survey than your own family please contact me. Thank you and enjoy!
 Today, I have two new stencils debuting over at Stencil Girl: sea urchin and sand dollars. In their honor I’ve whipped up a batch of tea towels that are super easy to make. As a bonus they make great gifts, think Mother’s Day and end-of-the-year teacher. For the complete how-to click here.
The latest stencils I designed for StencilGirl had me thinking of boardwalks, foamy waves and saltwater breezes. If you want to transport yourself back to your favorite days on the beach, forget holding a shell to your ear and try stenciling instead.
I made the three pillows above using my hot-off-the-press stencils (above) plus other materials I had on hand. Granted I have a pretty decent material stash (hoarder alert), but I promise these pillows are simple and quick to pull together. Here’s a general tutorial of how to create your own comfy beach pillows.
MATERIALS: (but feel free to improvise)
fabric paint (I used Lumiere acrylics for a bit of sparkle) . stencils . stencil brush . canvas on a roll (click if you want the exact stuff I used) . burlap (for pillow back) . material scraps reminiscent of the sea . trim . pillow form . sewing machine . needle . thread
1) Cut the fronts and backs of your pillow from fabric sized to fit your pillow form. I used burlap for the pillow backs and the unprimed side of the canvas for the pillow fronts (I liked the natural canvas side better for this project.)
2) Plain out your design before stenciling on the fabric. Taking the time to do a practice pillow on a similar size piece of scrap paper will be time well spent. You get one shot on that fabric folks!
3) When ready to stencil on the fabric: lay ironed canvas flat, position stencil and apply paint. Make sure your brush is not too wet. Again, practicing before will allow for better results on the real deal. Take my word for it.
4) I used several warm Lumiere colors to add depth and interest. Subtle, yet awesome. You can kind of see the variation of colors above, but admittedly it’s hard to capture in a photograph.
5) Let your pillow fronts dry. Above see how I chose to design my pillows (Wet, please don’t touch.)
6) Add some fun! Buttons, trims, fabrics etc. Stitch embellishments to the pillow fronts before you sew the front and back together. Otherwise you will have a seriously difficult time here.
7) Now place the front of the pillow under the front of the back of the pillow (inside out). Add some side trim if you desire and sew together. Remember to leave an opening to insert the pillow form.
8) Insert pillow form and hand stitch the pillow shut the rest of the way.
9) Enjoy a bit of the sea even if like me, you don’t have an oceanfront address.
Thanks for stopping by. It was certainly nice to meet you if you’re new over here. The blog hop party continues below with the Original Stencil girl, Mary Beth Shaw! (that must be how it feels to be a presenter at the academy awards. I sure lucked out.
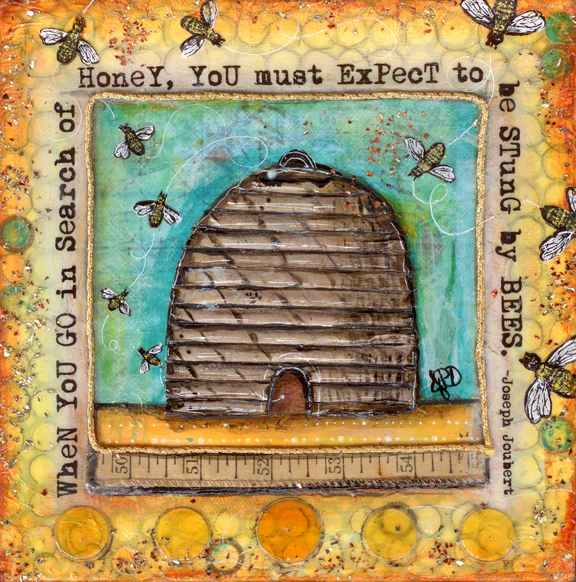
No it’s not you. It. has. been. awhile. While there definitely was time off from here, I was definitely not away on some exotic vacation for the past 6 months (although I did squeeze in some time away here and there.) Mostly I’ve been working more than ever. From graphic design to pursuing art licensing (FINALLY cards, flags and other items will start coming out next year!), I’ve been busy as a bee. Which segways nicely into the above piece. I created this especially for Cloth Paper Scissors, “Artists Give Back.”
Many contributors (including myself) to Cloth Paper Scissors and Cloth Paper Scissors Studios magazines have created works for the special etsy store “Artists Give Back.” The art is available in a large size (approximately 8″ x 8″) for $100 or a smaller size (approximately 5″ x 5″) for $50. All proceeds will go to benefit the National Breast Cancer Foundation, Inc. (NBCF). The shop goes live on August 28th. I can pretty much guarantee these original works will go fast. Bee sure to check it out.
